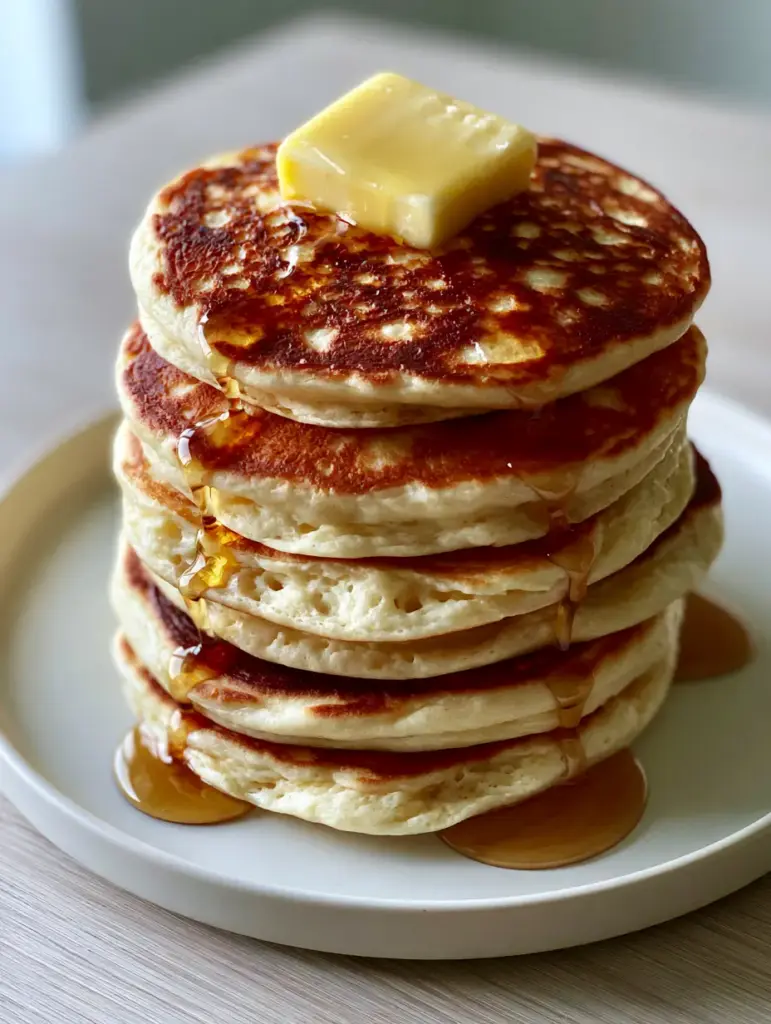
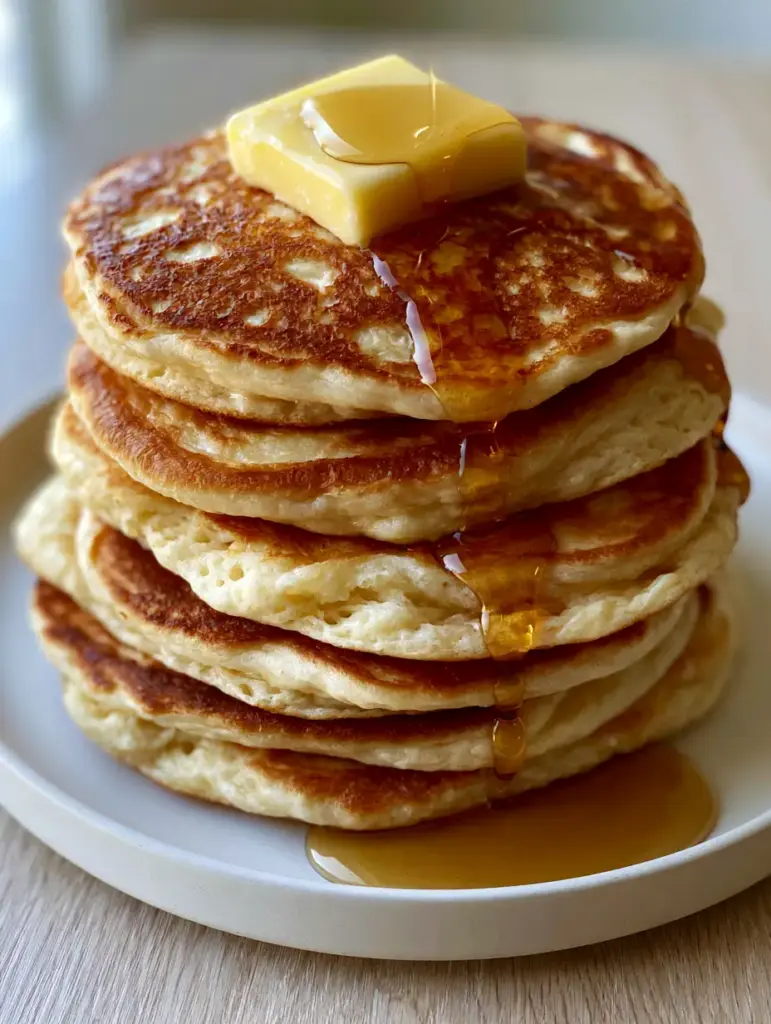
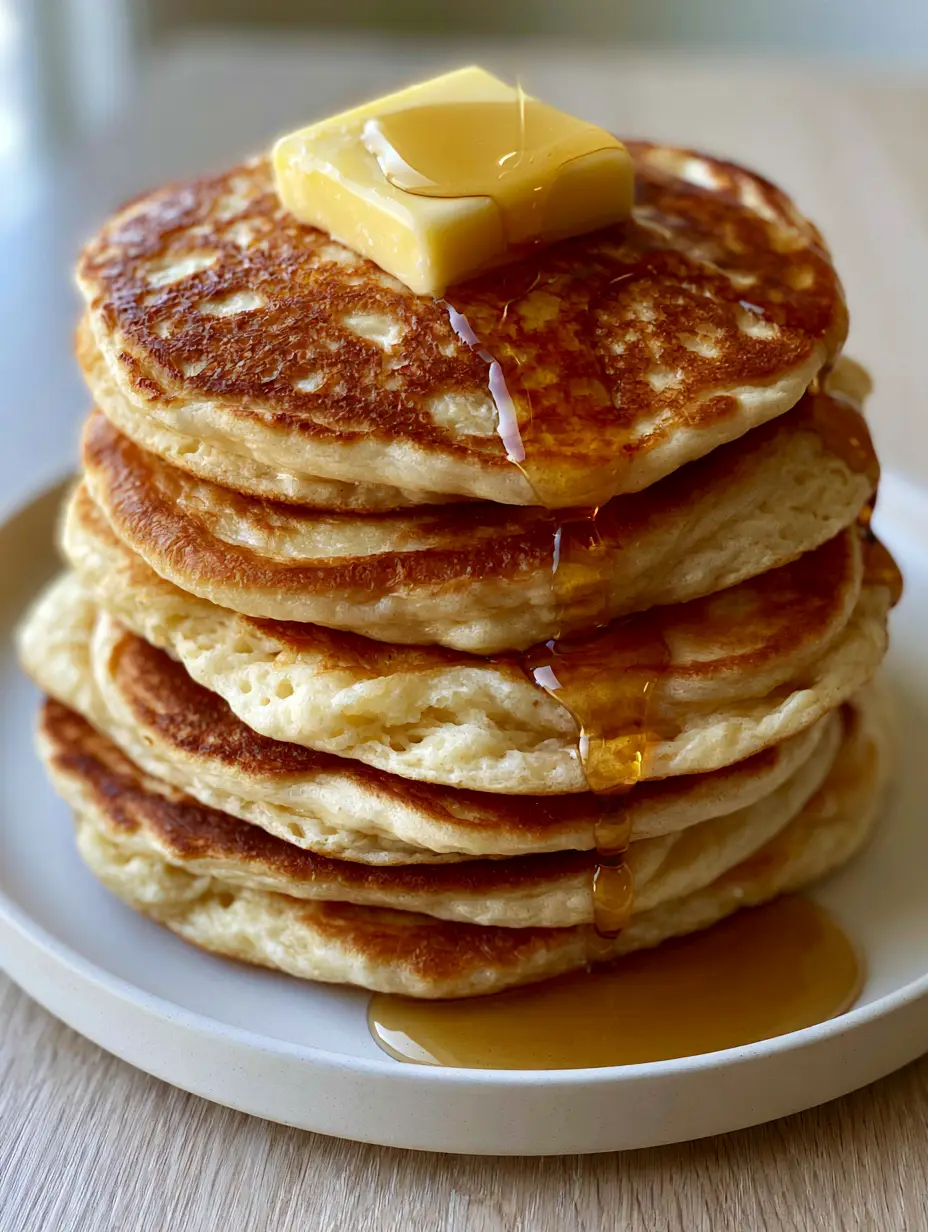
There is nothing quite like waking up to a sky-high stack of six extra-thick buttermilk pancakes resting on a minimalist matte white ceramic plate. This fluffy pancakes recipe is engineered to produce the exact visual and sensory experience of a high-end diner breakfast: a perfect golden-brown lacy sear on the surface, visible aerated edges, and a light, airy crumb that melts in your mouth. Whether it is a slow Sunday morning or a special celebration, mastering this recipe ensures a centerpiece-worthy breakfast every single time.
The secret to these pancakes lies in the delicate balance between chemical leavening and moisture control. By understanding how buttermilk interacts with baking soda, you can achieve that iconic “pillowy” texture seen in professional food photography. We have meticulously tested these ratios to ensure that when you pour your thick amber maple syrup, it cascades down the sides in golden rivulets, pooling perfectly at the base without making the pancakes soggy.
Why This Is the Only Fluffy Pancakes Recipe You Will Ever Need
- Structural Integrity: These pancakes are designed to stand in a “sky-high” stack of six without collapsing or compressing.
- The Perfect Sear: We utilize a specific fat-to-heat ratio to create a toasted, pockmarked surface with a lacy golden-brown finish.
- Aerated Crumb: By using a thick batter, we trap CO2 bubbles, resulting in visible airy edges and a sponge-like interior that absorbs syrup beautifully.
- Reliable Results: This method focuses on “sensory cues,” teaching you exactly when to flip based on the bubbles and steam wisps you see.
If you enjoy the verticality of this dish but want something even more delicate, you might want to try our Japanese-style souffle pancakes for a different texture. However, for the classic American breakfast experience, the buttermilk method remains the gold standard.
The Essential Ingredients for Maximum Rise
To achieve the visual recipe blueprint of extra-thick pancakes, we must use specific ingredients that serve both structural and aesthetic purposes. Every component in this fluffy pancakes recipe has been selected for its ability to create height and flavor.
All-Purpose Flour: 2 cups (250g). This provides the gluten structure necessary to hold the air bubbles produced by the leavening agents.
Granulated Sugar: 2 tbsp (25g). Sugar does more than sweeten; it aids in the Maillard reaction, giving us that toasted, golden-brown griddle sear.
Baking Powder: 2 tsp (10g). This is our primary lifter, providing the initial rise as soon as the batter hits the warm griddle.
Baking Soda: 1 tsp (5g). The soda reacts instantly with the acidic buttermilk to create immediate aeration and “pillowy” edges.
Sea Salt: 1/2 tsp (3g). Salt balances the sweetness of the maple syrup and enhances the buttery notes of the crumb.
Full-Fat Buttermilk: 1 ¾ cups (420ml). The thickness of the buttermilk is crucial for a viscous batter that stays tall on the pan rather than spreading thin.
Large Egg: 1 unit (approx. 50g). The protein in the egg sets the structure of the “aerated edges” so they don’t deflate after cooking.
Unsalted Butter (Melted): 4 tbsp (56g). This provides the richness and the “fatty” mouthfeel that characterizes a premium pancake.
Vanilla Extract: 1 tsp (5ml). A foundational aromatic that bridges the gap between the tangy buttermilk and the sweet amber syrup.
Salted Butter (For Topping): 1 large square pat. This is the visual crown of the dish, designed to melt into golden rivulets down the stack.
The Physics of the Perfect Griddle Sear
Achieving a “pockmarked and toasted” texture requires the right equipment. While a standard frying pan works, a heavy-bottomed cast iron griddle or a non-stick electric griddle provides the most even heat distribution. If you find yourself enjoying the process of griddle cooking, you may also find our crispy homemade waffles to be a great addition to your weekend rotation.
To get those light steam wisps and the lacy sear, you need to manage your surface temperature carefully. We recommend a surface temperature of 375°F (190°C). If the pan is too cold, the pancakes will be pale and tough; if it’s too hot, the outside will burn before the thick center is fully aerated.
Step-by-Step Instructions for the Fluffiest Stack
1. Sifting and Aerating the Dry Base
In a large mixing bowl, sift together the flour, sugar, baking powder, baking soda, and salt. Sifting is a non-negotiable step for this fluffy pancakes recipe because it removes clumps and introduces air into the flour, which contributes to the final airy crumb.
2. Emulsifying the Liquid Ingredients
In a separate medium bowl, whisk the buttermilk, egg, and vanilla extract until fully combined. Slowly drizzle in the melted (but cooled) butter while whisking constantly. This creates an emulsion that ensures every bite of the pancake is equally tender.
3. The “Gentle Fold” Technique
Make a well in the center of the dry ingredients and pour in the wet mixture. Using a silicone spatula, gently fold the ingredients together. Stop as soon as the flour streaks disappear. The batter should be thick and lumpy; these lumps are essential for the aerated, pillowy edges seen in the visual prompt.
4. Preheating and Greasing for the Lacy Sear
Heat your griddle over medium-low heat. Lightly brush the surface with a small amount of salted butter. You should see a slight shimmer but no smoke. Using a 1/3 cup (80ml) measure, pour the batter onto the griddle, keeping the pour concentrated in the center to encourage height.
5. Identifying the Flip Cues
Watch the surface of the pancake. You will see bubbles forming and popping, leaving small pockmarks. When the edges look “set” and matte rather than shiny, and you see light steam wisps rising, it is time to flip. Use a wide spatula to flip in one confident motion.
6. The Final Rise and Plating
Cook the second side for about 1-2 minutes until it mirrors the golden-brown lacy sear of the first side. Stack six pancakes high on a matte white ceramic plate. Immediately top with a large square pat of salted butter and pour a generous amount of thick amber maple syrup over the peak.
Expert Tips for Pancake Perfection
- Don’t Overmix: Overmixing develops gluten, which makes pancakes rubbery instead of fluffy. Lumps are your friend!
- Rest the Batter: Let the batter sit for 5-10 minutes before cooking. This allows the starch granules to hydrate and the leavening agents to kickstart the aeration.
- Wipe the Pan: Between batches, wipe the griddle and re-apply a fresh, thin layer of butter to maintain that perfect toasted texture.
- Use Fresh Leavening: Ensure your baking powder is less than six months old; otherwise, you won’t get the “sky-high” stack you desire.
If you’re hosting a large brunch and need something more savory to balance the sweetness, consider serving these alongside our hearty breakfast burritos or a plate of refreshing cucumber sandwiches for a sophisticated spread.
Storage, Reheating, and Freezing
While this fluffy pancakes recipe is best enjoyed fresh with rising steam wisps, you can store leftovers. Place cooled pancakes in an airtight container and refrigerate for up to 3 days. To maintain the crispy edges, reheat them in a toaster or a 350°F (175°C) oven rather than the microwave.
For long-term storage, flash-freeze the pancakes on a baking sheet for an hour before transferring them to a freezer bag. They will keep for up to 2 months. You can toast them directly from frozen for a quick weekday luxury that rivals our easy German pancakes.
Frequently Asked Questions
You can, but you’ll lose the thick consistency and the acidic reaction with baking soda. For a quick substitute, add 1 tablespoon of lemon juice to 1 cup of regular milk.
Achieve this by using a small amount of butter on a medium-low heat griddle. The milk solids in the butter fry the surface of the batter, creating a toasted, pockmarked texture.
Place a wire rack over a baking sheet in a 200°F (95°C) oven. The rack prevents the bottom pancakes from getting soggy while keeping the stack hot and fluffy.
Flat pancakes are usually caused by overmixing the batter, which develops gluten and deflates air bubbles, or using expired baking powder that has lost its potency.
The first pancake often fails because the griddle hasn’t reached a stable, even temperature. Wait until the butter shimmers and the pan is evenly hot before pouring your first batch.
The Master Fluffy Pancakes Recipe
Fluffy Pancakes Recipe: The Ultimate Guide to Extra-Thick Buttermilk Stacks
Ingredients
Equipment
Method
- In a large bowl, sift together the flour, sugar, baking powder, baking soda, and salt to ensure no lumps and maximum aeration.
- Whisk the buttermilk, egg, vanilla, and melted butter in a separate bowl until emulsified.
- Gently fold the wet ingredients into the dry ingredients using a spatula. Stop when just combined; the batter should remain thick and lumpy.
- Preheat a griddle over medium-low heat (375°F/190°C) and lightly grease with butter until shimmering.
- Pour 1/3 cup (80ml) of batter onto the griddle. Cook until bubbles form on top, edges look matte, and a golden-brown lacy sear develops on the bottom.
- Flip and cook for another 1-2 minutes. Stack six pancakes high and top with a square pat of salted butter and amber maple syrup.
Notes
Use medium-low heat to ensure the thick pancakes cook through without burning the exterior.
Closing and How to Share Your Success
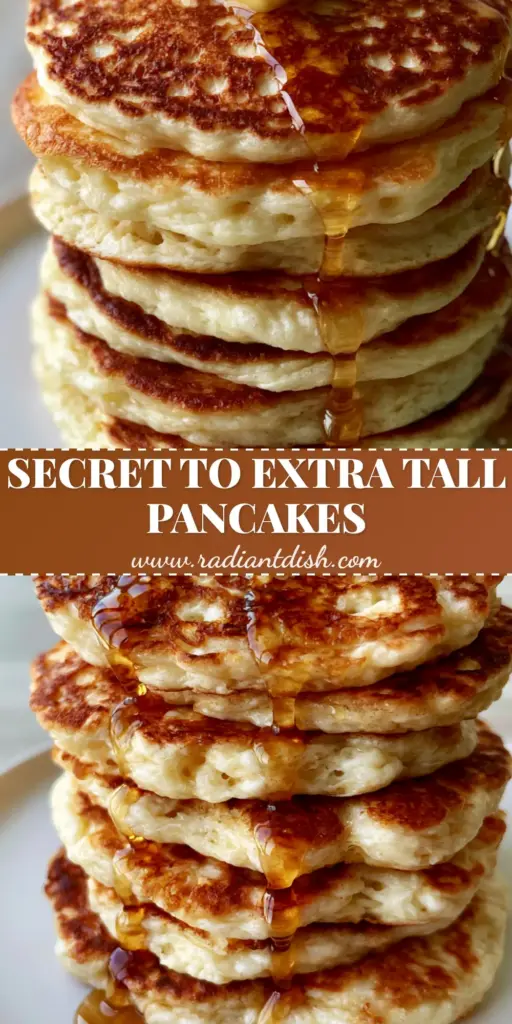
Mastering the fluffy pancakes recipe is a rite of passage for any home cook. The combination of the thick, buttermilk-enriched batter and the precision of the griddle sear results in a breakfast that is as beautiful as it is delicious. When you see those golden rivulets of syrup cascading down your own sky-high stack, you’ll know the effort was worth it.
Did you achieve the perfect lacy sear? We want to see your creations! Share your photos and tag us, or pin this recipe to your favorite breakfast board on Pinterest. Your feedback helps our community of home cooks thrive, so please leave a comment below with your results!