There is something profoundly nostalgic about the flavor profile of strawberry shortcake bars. They evoke memories of chasing down the ice cream truck on a sweltering July afternoon, clutching a few coins in a sticky palm. But today, we are elevating that childhood classic into a sophisticated, multi-textured dessert that balances the crunch of a golden vanilla sandwich cookie with the velvety decadence of a dense cream cheese filling. These strawberry shortcake bars aren’t just a treat; they are a masterclass in contrasting textures and vibrant berry flavors.
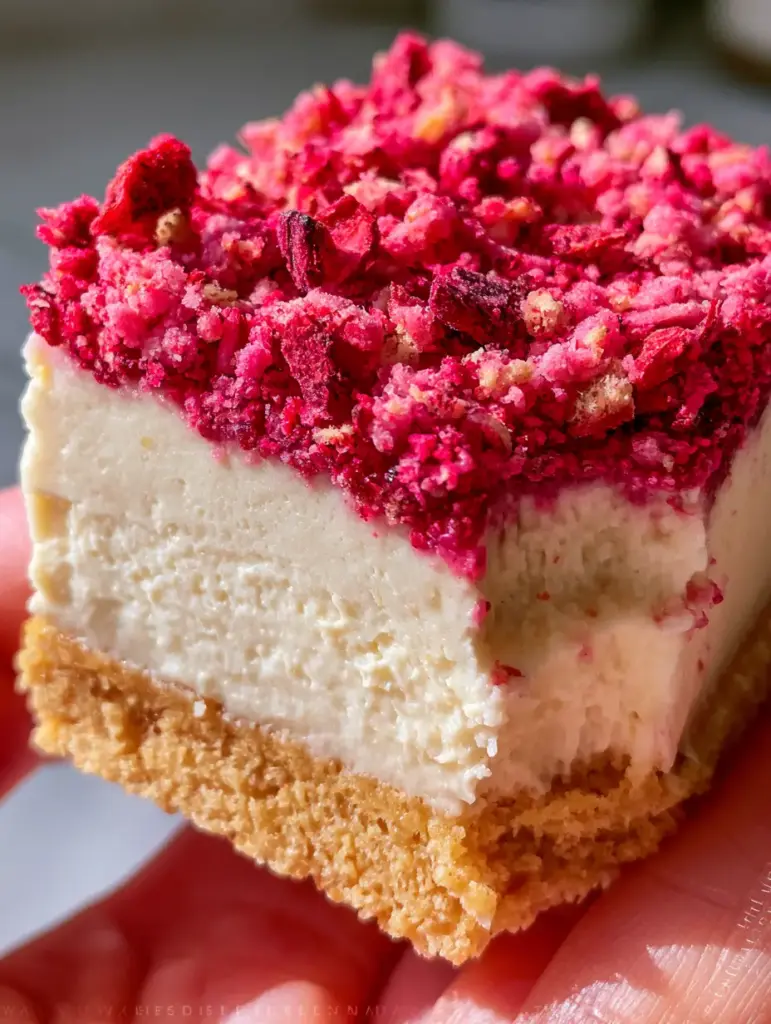
When you take your first bite, you will experience the structural integrity of a compressed golden Oreo crust, followed immediately by the cool, silky mouthfeel of a chilled cheesecake layer. The experience culminates in a bright, acidic pop from the crushed freeze-dried strawberry topping. This recipe is designed to be a showstopper, catching the natural light in your kitchen and providing that perfect, “handheld smartphone photo” aesthetic that looks as good as it tastes. Whether you are serving these at a summer soirée or keeping them as a private indulgence, they represent the pinnacle of home-crafted dessert bars.
Why These Creamy Strawberry Bars Are a Total Game-Changer
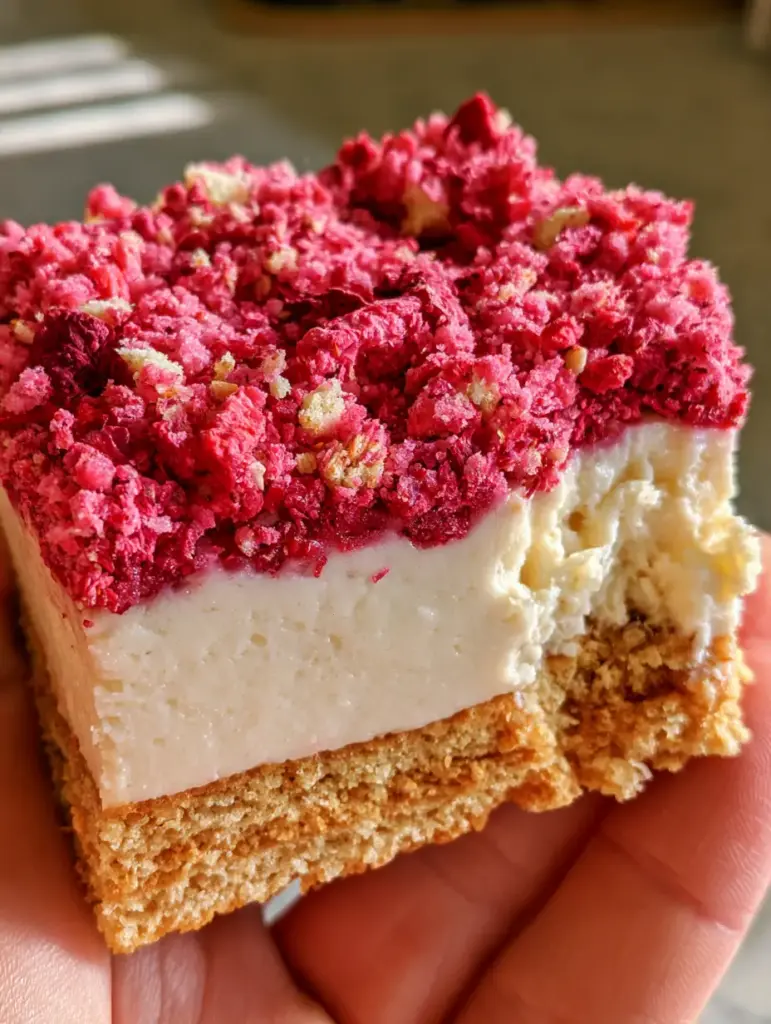
- Textural Harmony: The combination of a firm, buttery cookie base and a dense, creamy white cheesecake filling provides a satisfying bite that doesn’t crumble apart.
- Vibrant Visuals: The ruby-red crumble made from freeze-dried berries offers a natural, electric pink hue that far surpasses artificial dyes or syrups.
- No-Fuss Sophistication: While they look like they came from a high-end patisserie, these bars use accessible ingredients like vanilla sandwich cookies and standard pantry staples.
- Make-Ahead Magic: Because these bars require a significant chilling period to set the cream cheese, they are the perfect stress-free dessert for entertaining.
Essential Ingredients for the Perfect Golden Oreo Crust
Golden Vanilla Sandwich Cookies (36 cookies): These serve as the structural foundation of our strawberry shortcake bars. Unlike traditional graham crackers, the cream filling in these cookies adds a specific fat content that, when crushed, helps the crust stay “compressed” and firm rather than sandy.
Unsalted Butter (1/2 cup or 115g): We use melted butter as the “culinary glue.” It saturates the cookie crumbs, and once chilled, it solidifies to create that distinct snap you see in the side-view cross-section of the bar.
Fine Sea Salt (1/4 tsp): A tiny pinch is essential to balance the high sugar content of the vanilla cookies. It awakens the palate and prevents the crust from feeling cloyingly sweet.
The Secret to a Dense and Velvety Cheesecake Filling
Full-Fat Cream Cheese (16 oz or 450g): For that “dense, creamy white” texture mentioned in the visual blueprint, you must use block cream cheese, not the whipped variety. The higher fat content ensures the bars hold their rectangular shape when sliced. If you enjoy this creamy texture, you might also love my cherry cream cheese dessert for your next gathering.
Powdered Sugar (1 cup or 120g): Also known as confectioners’ sugar, this provides sweetness without the graininess of granulated sugar. The cornstarch typically found in powdered sugar also acts as a subtle stabilizer for the chilled filling.
Heavy Whipping Cream (1/2 cup or 120ml): Incorporating a small amount of heavy cream allows the filling to achieve a “dense yet airy” highlight. It softens the tang of the cream cheese just enough to mimic a classic shortcake cream.
Pure Vanilla Bean Paste (1 tsp): While extract works, the paste adds those tiny black flecks that signal “high quality” to anyone looking closely at the cross-section of your bars. It complements the vanilla notes in the crust perfectly.
Mastering the Vibrant Freeze-Dried Strawberry Topping
Freeze-Dried Strawberries (1.5 oz or 42g): This is the most critical component for the “vibrant pink and ruby-red crumble.” Freeze-drying removes moisture but intensifies the flavor and color. When crushed, they provide a tart punch that cuts through the rich dairy layers. These are much more effective for topping than fresh berries, which can leak moisture and make the bars soggy, similar to how we manage moisture in a blueberry pie bars recipe.
Additional Vanilla Cookies (8-10 cookies): These are crushed coarsely to provide the “vanilla cookie crumble” mentioned in the blueprint. They add bulk and a pale gold contrast to the red berry dust.
Fresh Strawberry Sliver Garnish: Just before serving, a thin, translucent sliver of fresh strawberry is added to the top. This adds a wet, glistening highlight that suggests freshness and professional plating.
Tools for Precision Dessert Slicing
To achieve the “macro, handheld” look of a perfect rectangular bar, you need the right gear. A 9×9 inch (23x23cm) square baking pan is the standard, but ensure it has sharp, right-angle corners. Lining the pan with parchment paper is non-negotiable; leave an overhang on two sides so you can lift the entire block out once chilled.
A food processor is the most efficient way to achieve a uniform “compressed” crust. You want the crumbs to be fine, almost like damp sand. For the topping, a simple rolling pin and a heavy-duty freezer bag allow you to control the size of the “ruby-red crumble,” ensuring you have a mix of fine powder and larger, crunchy chunks.
Step-by-Step Guide to Assembling Your Shortcake Bars
Constructing the Compressed Crust
Begin by pulsing the vanilla sandwich cookies in a food processor until no large chunks remain. Drizzle in the melted butter and salt, pulsing until the mixture looks like wet sand. Pour this into your prepared pan and use the bottom of a flat measuring cup to press down firmly. You are looking for a “thick, compressed crust” that is even from edge to edge. Bake at 350°F (175°C) for 8-10 minutes just to set the structure, then let it cool completely.
Whipping the Dense Cream Cheese Layer
In a large bowl, beat the room-temperature cream cheese until it is completely smooth—no lumps allowed! Sift in the powdered sugar and add the vanilla. Slowly pour in the heavy cream while continuing to beat on medium speed. The filling should be thick enough to hold a soft peak but spreadable. Smooth this over the cooled crust using an offset spatula to ensure a perfectly flat middle layer.
Creating the Signature Strawberry Crumble
In a separate bag, crush the freeze-dried strawberries and the remaining vanilla cookies. You want a variety of sizes—some fine pink dust and some ruby-red chunks. Sprinkle this generously over the cream cheese layer while it is still slightly “tacky.” Use your palms to very gently press the crumble into the cream so it adheres. If you’re a fan of these types of fruit-forward bars, you should definitely check out my strawberry lemon blondies for a different take on the flavor profile.
Pro-Tips for the Cleanest Layers and Best Texture
- The Chill Factor: These bars need at least 4 hours in the refrigerator, but overnight is better. This allows the fats in the cream cheese and butter to fully crystallize, which is what creates that “dense, creamy white” side view.
- The Clean Cut: To get the professional look of the bars in the photo, dip a sharp chef’s knife in hot water and wipe it dry between every single cut. This prevents the pink topping from dragging into the white cream layer.
- Freeze-Dried Storage: Freeze-dried fruit absorbs moisture from the air quickly. If you live in a humid climate, add the crumble topping no more than 2 hours before serving to ensure it stays crunchy.
- Fresh Garnish Timing: Only add the “fresh strawberry garnish sliver” at the very last second. Fresh fruit will weep juice, which can bleed into the pink crumble if left for too long.
How to Store and Refresh Your Dessert Bars
Store your strawberry shortcake bars in an airtight container in the refrigerator for up to 5 days. If you find the topping has softened, you can “refresh” them by sprinkling a little extra crushed freeze-dried strawberry powder on top before serving. While these bars are best served chilled, they can stand out at room temperature for about 30-45 minutes before the cream cheese begins to soften significantly.
For long-term storage, these bars freeze remarkably well. Wrap individual rectangular bars in plastic wrap and then foil. They will stay fresh for up to 3 months. Thaw them in the refrigerator for 2 hours before you plan to eat them. They make for excellent midnight snacks when you need something sweet and satisfying!
Perfectly Paired Sides and Drinks for Your Sweet Treats
If you are serving these as part of a larger spread, they pair beautifully with salty or savory options to balance the sweetness. A blueberry peach feta salad offers a refreshing, tangy contrast. For a full summer meal, consider starting with pineapple chicken kabobs or a fresh grilled shrimp bowl. The bright citrus notes in these dishes will highlight the strawberry flavors in the bars.
If you’re hosting a casual get-together, these bars are the perfect finale after a round of snackle box ideas or a tray of cheesy-bacon-ranch-wraps. The portability of the bars makes them ideal for outdoor dining where forks and plates are optional.
Frequently Asked Questions
Yes! You can substitute the golden Oreos with a gluten-free vanilla sandwich cookie. Most major brands now offer a gluten-free version that behaves very similarly in crust recipes.
While you can use fresh strawberries for garnish, they are not recommended for the crumble topping. Fresh berries release moisture which will make the cookie crumble soggy and cause the cream cheese layer to weep. Freeze-dried berries provide a superior crunch and concentrated flavor.
Baking the crust for 10 minutes is optional but highly recommended. It helps ‘set’ the sugars and butter, creating a more stable base that holds up better when the bars are held by hand.
The secret is temperature and a clean knife. Ensure the bars have chilled for at least 4 hours. Use a sharp chef’s knife, dip it in hot water, wipe it completely dry, and make one clean slice. Repeat the cleaning/heating process for every single cut.
This usually happens if the crust wasn’t compressed enough or if there wasn’t enough melted butter. Make sure to press the crumb mixture firmly into the pan using a flat-bottomed cup and allow the bars to chill fully so the butter can solidify.
The Ultimate Strawberry Shortcake Bars Recipe Card
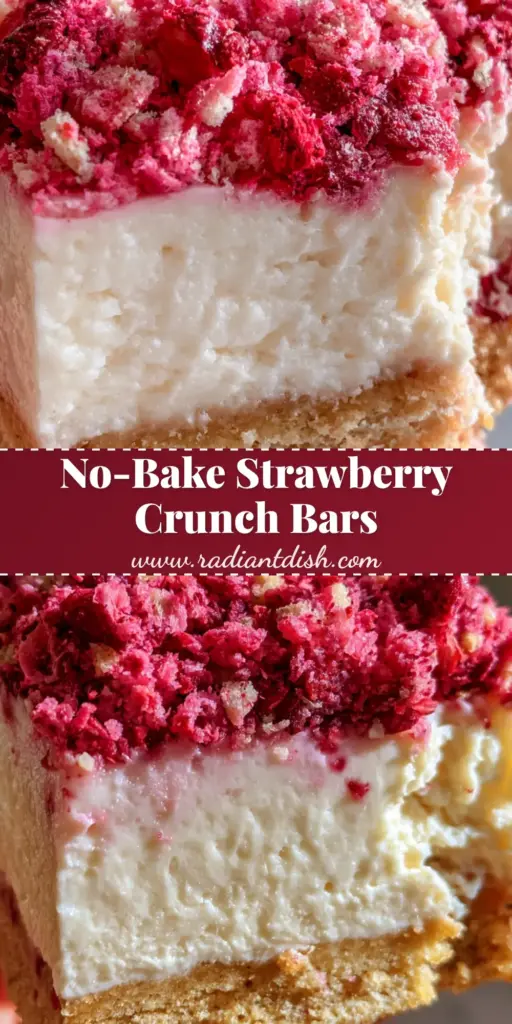
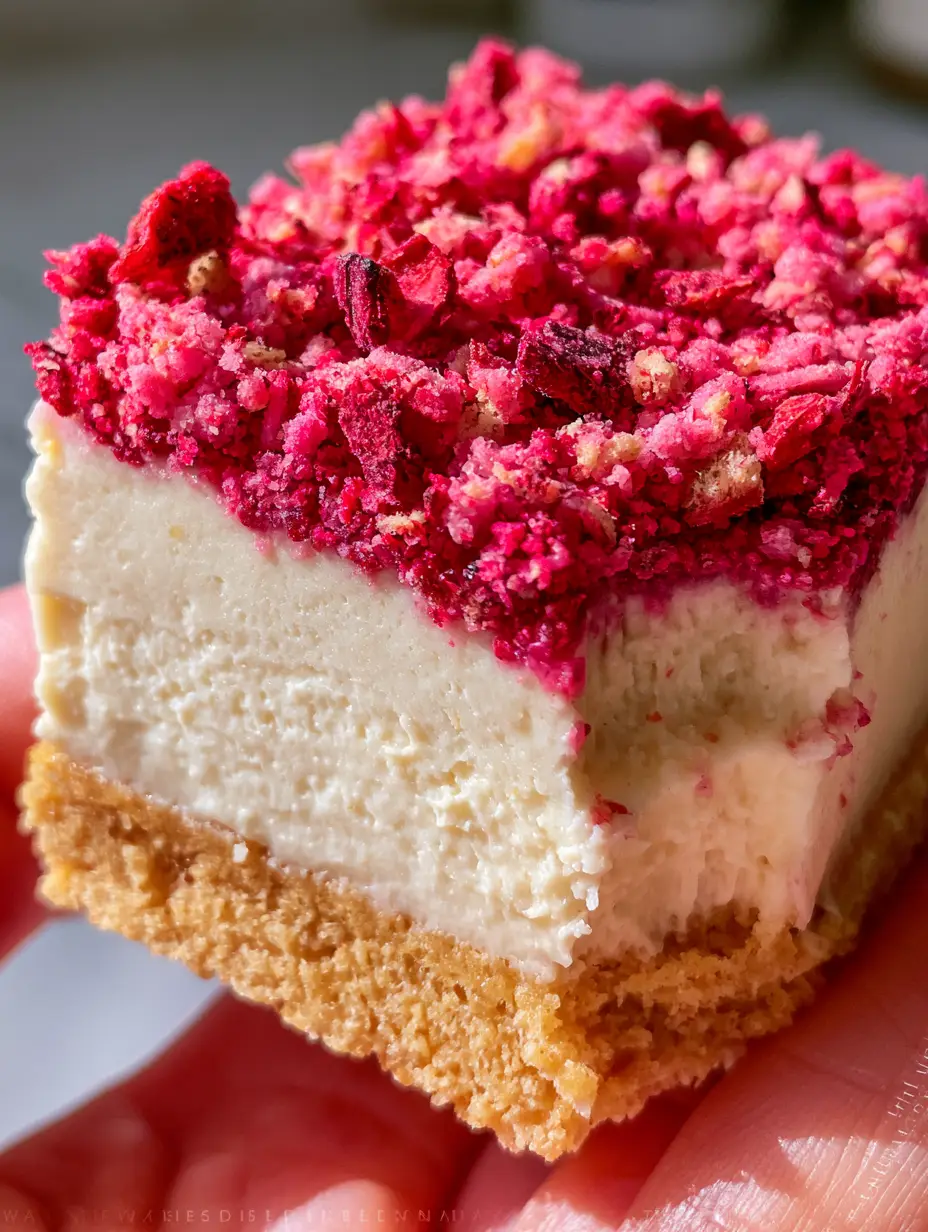
Strawberry Shortcake Bars with a Compressed Golden Oreo Crust
Ingredients
Equipment
Method
- Pulse 36 golden Oreos in a food processor until fine crumbs form. Add melted butter and salt, pulsing until combined.
- Press the mixture firmly into a parchment-lined 9x9 inch pan. Bake at 350°F (175°C) for 10 minutes. Cool completely.
- Beat softened cream cheese and powdered sugar until smooth and creamy. Mix in vanilla bean paste.
- Slowly add heavy cream while beating on medium-high speed until the mixture is thick and dense.
- Spread the filling evenly over the cooled crust, smoothing the top with an offset spatula.
- Crush freeze-dried strawberries and the remaining 8 Oreos. Sprinkle generously over the filling and press lightly.
- Refrigerate for at least 4 hours (ideally overnight) until set. Slice into rectangles and garnish with a fresh strawberry sliver before serving.
Notes
For clean slices, wipe your knife with a warm, damp cloth between every cut.
Join the Radiant Dish Community!
We hope these strawberry shortcake bars bring a burst of nostalgic joy to your kitchen! The combination of the golden Oreo crust and the ruby-red crumble is a proven crowd-pleaser that never fails to impress. If you make this recipe, please leave a comment below and tell us how they turned out! Don’t forget to follow us and share your creations on Pinterest so we can see your beautiful dessert layers. Happy baking!