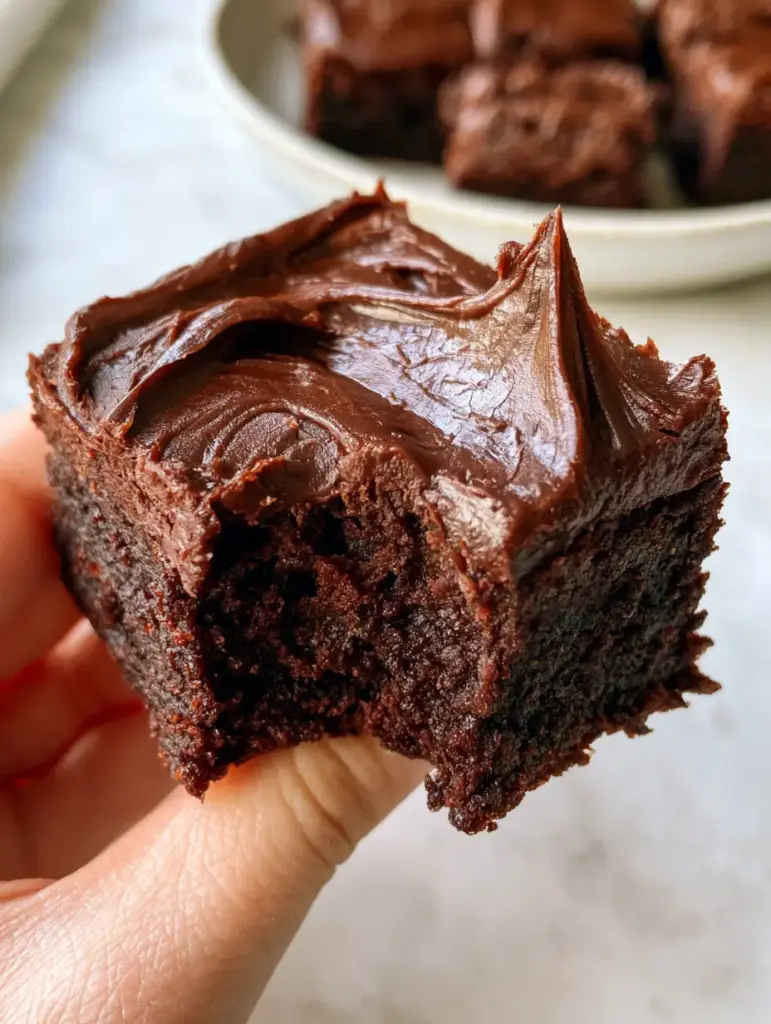
There is a specific kind of nostalgia that only lunch lady brownies can evoke. We aren’t talking about thin, cakey squares; we are talking about a dense cocoa brownie base that feels substantial in your hand, topped with a thick layer of glossy chocolate fudge frosting that crackles ever so slightly when you bite into it.
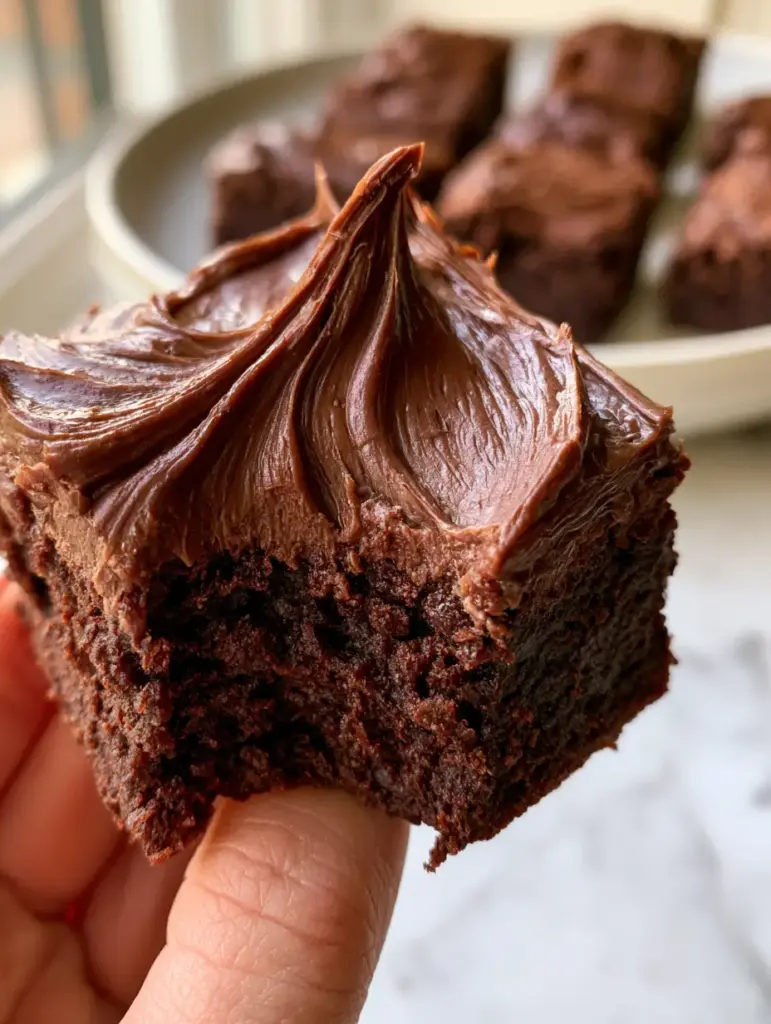
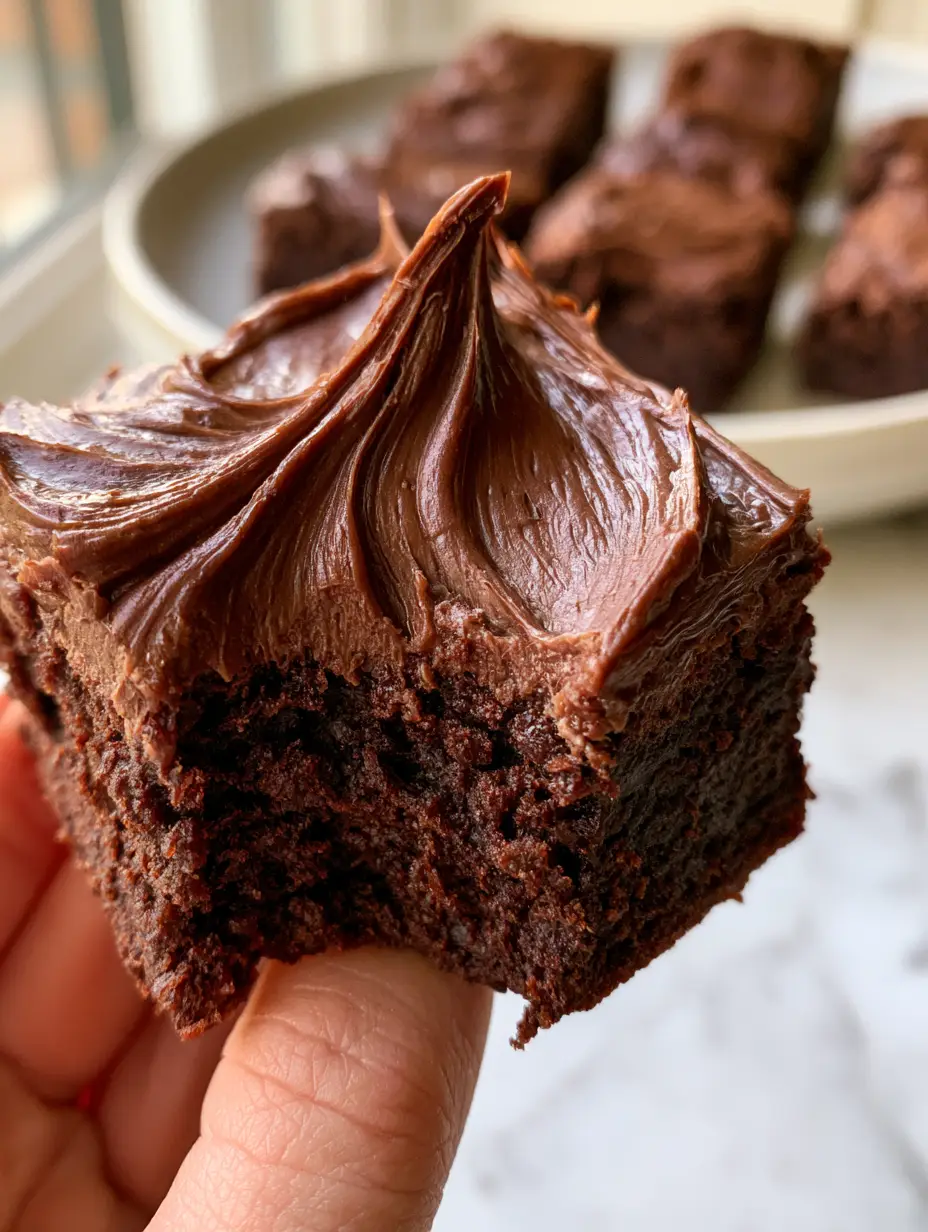
If you have been searching for that elusive, dark chocolate hue and a moist fudgy center with a tight crumb, you have arrived at the right place. This recipe is engineered to recreate the exact sensory experience of a high-end, handheld treat that looks as good as it tastes, featuring clean-cut square edges and professional frosting swirls.
By following this guide, you will master the art of the delicate, paper-thin crackle texture that sits atop a rich, heavy brownie. Whether you are prepping these for a bake sale or just looking for the ultimate comfort food, these brownies deliver a high-impact chocolate punch in every bite.
Why These Lunch Lady Brownies Rule the Dessert Table
- Dense and Heavy Texture: Unlike boxed mixes, these squares are substantial and heavy, providing a satisfying chew that lasts.
- The Perfect Fudgy Center: We use a specific ratio of fats to flour to ensure the center remains moist and dark, never dry or crumbly.
- Glossy Fudge Frosting: The crowning glory is a thick chocolate fudge frosting that maintains a high-gloss finish with visible, artisan swirls.
- Visual Perfection: From the clean-cut square edges to the dark chocolate hue, these are designed to look like they came from a professional pastry kitchen.
Pantry Staples for the Darkest Chocolate Hue
To achieve the deep, midnight-dark color seen in the visual blueprint, we must be intentional with our ingredient selection. Each component serves a scientific purpose in creating the structure and flavor profile of the lunch lady brownies.
Unsalted Butter: 1 cup (227g) of melted butter provides the foundational fat that creates a moist fudgy center. Using melted butter instead of creamed butter prevents excess air from entering the batter, keeping the crumb tight and dense.
Granulated Sugar: 2 cups (400g) of white sugar are essential for that crackly sugar top. As the sugar dissolves and migrates to the surface during baking, it creates the delicate, paper-thin crust that distinguishes a pro brownie from an amateur one.
Large Eggs: 4 room-temperature eggs provide the necessary protein for structure. They act as the “glue” that holds the dense cocoa brownie base together, ensuring it doesn’t fall apart when you take a large bite.
Vanilla Extract: 1 tbsp (15ml) of high-quality vanilla enhances the cocoa notes. It rounds out the sweetness and adds depth to the dark chocolate profile.
Unsweetened Cocoa Powder: 2/3 cup (60g) of Dutch-processed cocoa gives us that dark chocolate hue. Dutch-processing reduces acidity, resulting in a smoother, richer flavor and a darker color than natural cocoa powder.
All-Purpose Flour: 1 ½ cups (190g) of flour provides just enough structure without making the brownie cakey. We keep the flour count relatively low to prioritize the “fudge” factor.
Salt: ½ tsp (3g) of fine sea salt is the invisible hero that balances the sugar. It heightens the perception of chocolate on the palate.
The Tools You Need for Clean-Cut Square Edges
Achieving the professional look of a thick square brownie held by a hand requires more than just a good recipe; it requires the right equipment. To get those perfectly uniform squares, you need to manage heat and friction.
A 9×13 inch (23x33cm) metal baking pan is superior to glass for this recipe. Metal conducts heat more evenly, which helps in creating those sharp, clean-cut square edges without overbaking the perimeter.
You will also need parchment paper to create a “sling.” This allows you to lift the entire block of brownies out of the pan once cooled, making it significantly easier to slice them into perfect portions on a flat surface like an off-white marble countertop.
For the frosting, a small offset spatula is your best friend. It allows you to create those glossy frosting swirls and gentle highlights on the frosting’s peaks that catch the natural side-light from a window.
Achieving the Perfect Fudgy Center Step-by-Step
1. Prepping for Success
Preheat your oven to 350°F (175°C). Line your baking pan with parchment paper, leaving an overhang on the sides. This is the first step toward achieving those clean-cut square edges that make these brownies look so professional.
2. The Butter and Sugar Base
In a large bowl, whisk the 1 cup (227g) of melted butter with the 2 cups (400g) of granulated sugar. Whisk vigorously for about two minutes; this helps dissolve the sugar, which is the secret to the crackly sugar top that appears on the surface.
3. Incorporating the Proteins
Add the 4 eggs one at a time, beating well after each addition. You want the mixture to look slightly pale and glossy. Stir in the 1 tbsp (15ml) of vanilla extract. If you are looking for more midnight snacks to add to your repertoire, the aroma at this stage will remind you why chocolate is king.
4. Sifting the Dry Ingredients
Gently fold in the 2/3 cup (60g) of cocoa powder, 1 ½ cups (190g) of flour, and ½ tsp (3g) of salt. Use a spatula to fold until no streaks of flour remain. The batter should be thick, dark, and glossy—this ensures the dense cocoa brownie base stays moist.
5. The Bake Cycle
Pour the batter into the prepared pan and smooth the top. Bake for 25-30 minutes. Look for the visual cue: the edges should be set, but the center should still have a slight wobble. Do not overbake, or you will lose the moist fudgy center and the tight crumb shown in the macro close-ups.
Mastering the Glossy Fudge Frosting Swirls
The frosting is what transforms a standard brownie into a true lunch lady brownie. It needs to be applied while the brownies are still slightly warm to achieve that ultra-glossy finish.
In a medium bowl, whisk together ¼ cup (57g) of melted butter, ¼ cup (25g) of cocoa powder, ¼ cup (60ml) of whole milk, and 3 cups (375g) of powdered sugar. The consistency should be thick but pourable.
Pour the frosting over the warm brownies and use your offset spatula to create visible swirls. As the frosting cools, it will develop a paper-thin crackle texture on the surface, catching the light beautifully. If you enjoy rich textures, you might also love a cherry cream cheese dessert for your next gathering.
Expert Tips for Success
- Temperature Control: Ensure your eggs are at room temperature to prevent the melted butter from seizing, which maintains the moist fudgy center.
- The Slicing Secret: For those clean-cut square edges, let the brownies cool completely, then refrigerate for one hour before cutting with a hot, clean knife.
- Dutch-Process is Key: Don’t swap for natural cocoa powder if you want that specific dark chocolate hue and low-acid flavor profile.
- Avoid Over-Mixing: Once the flour goes in, stop mixing as soon as it’s incorporated to keep the crumb tight and dense rather than tough.
Smart Storage for Lasting Moisture
Lunch lady brownies are incredibly resilient. You can store them in an airtight container at room temperature for up to 4 days. The thick chocolate fudge frosting actually acts as a seal, keeping the brownie base moist for longer.
If you want to keep them longer, these brownies freeze beautifully. Wrap individual squares in plastic wrap and store them in a freezer bag for up to 3 months. When you’re craving one of your favorite salty snack ideas paired with something sweet, just thaw one at room temperature for 30 minutes.
Pairing Your Brownies with Savory Favorites
While these brownies are a star on their own, they often follow a hearty, comforting meal. In the spirit of the cafeteria classics, they pair excellently after a round of crockpot meals that have simmered all day.
The richness of the dark chocolate hue and the heavy, substantial nature of the brownie provide a perfect contrast to a salty or savory main course. The glossy frosting swirls make them a visually stunning centerpiece for any dessert spread.
Common Brownie Baking Questions
You can, but the brownies will be lighter in color and more acidic. For the specific dark chocolate hue and deep flavor of authentic lunch lady brownies, Dutch-processed cocoa is highly recommended.
Let the brownies cool completely in the pan, then chill them in the refrigerator for at least an hour. Use a sharp knife dipped in hot water (and wiped dry) between each cut.
Pour the fudge frosting over the brownies while they are still slightly warm. Use an offset spatula to create swirls; the warmth helps the frosting maintain its high-gloss finish as it sets.
The crackle comes from properly dissolving the sugar in the melted butter and eggs. Whisking the butter and sugar for at least two minutes creates that delicate, sugar-crust layer.
Cakey brownies usually result from over-mixing the batter or using too much flour. To ensure a moist fudgy center, fold the dry ingredients in gently and stop as soon as the flour disappears.
The Official Lunch Lady Brownie Recipe Card
Lunch Lady Brownies: The Ultimate Fudgy Old-School Cafeteria Classic
Ingredients
Equipment
Method
- Preheat oven to 350°F (175°C). Line a 9x13 inch pan with parchment paper.
- Whisk melted butter and granulated sugar for 2 minutes until well combined.
- Beat in eggs one at a time, then stir in vanilla extract until the mixture is glossy.
- Gently fold in cocoa powder, flour, and salt until no streaks remain and the crumb looks tight.
- Pour into pan and bake for 25-30 minutes until edges are set but center has a moist fudgy wobble.
- Whisk melted butter, cocoa, milk, and powdered sugar until smooth and glossy.
- Pour frosting over warm brownies, creating swirls with an offset spatula. Let cool to form a crackly sugar top.
Notes
Do not overbake to maintain the moist fudgy center.
Final Thoughts on the Ultimate Lunch Lady Brownies
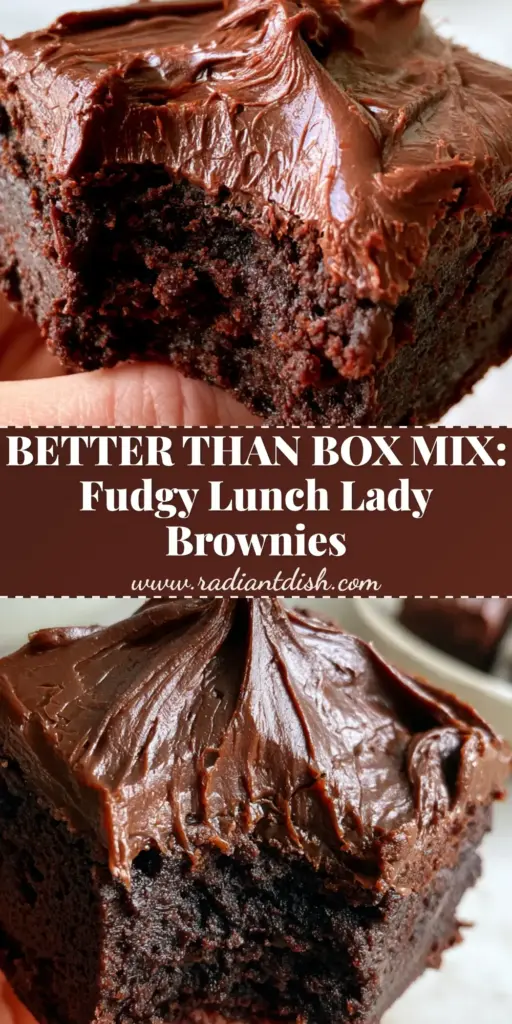
These lunch lady brownies are more than just a dessert; they are a masterclass in texture and chocolate intensity. Between the dense cocoa brownie base and the glossy frosting swirls, every element is designed to satisfy the most dedicated chocolate lover. The next time you need a crowd-pleasing treat that looks like a high-end smartphone photo, reach for this recipe.
We would love to see your results! Leave a comment below or share your glossy frosting peaks with us. Don’t forget to follow and share your bakes to Pinterest so others can enjoy this fudgy perfection too.