Mini cannoli cups are the elegant, bite-sized solution to your Italian pastry cravings. If you have ever struggled with the traditional method of deep-frying cannoli shells around metal tubes, this recipe is your new best friend. By transforming the classic Sicilian flavors into stunning mini cannoli cups, you achieve that perfect ratio of crispy, golden-brown pastry to velvety, star-tipped ricotta filling without the mess of a deep fryer. These are the ultimate show-stoppers for your next brunch, holiday party, or sweet craving.
Why You Will Obsess Over These Crisp Pastry Cups
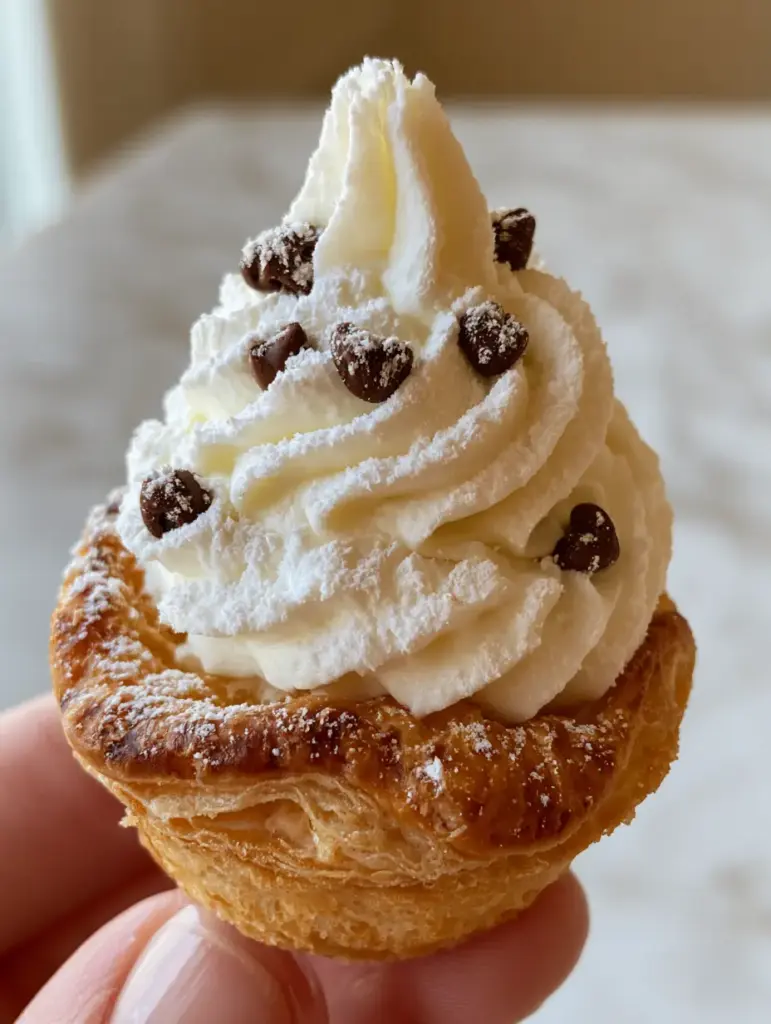
- Visual Perfection: Each cup features a tall, decorative swirl of thick ricotta cream that looks like it came from a high-end bakery.
- Textural Harmony: You get a satisfying crunch from the flaky pastry shell paired with the microscopic snap of mini dark chocolate chips.
- Simplified Elegance: No specialized cannoli tubes are required; a simple mini muffin tin creates the perfect vessel.
- High-Impact Flavor: The subtle brightness of microscopic orange zest flecks cuts through the rich cream for a balanced finish.
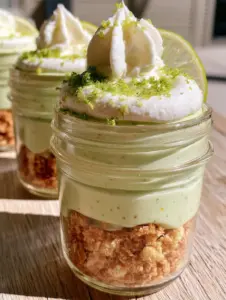
If you love serving individual portions, you should also check out our dessert cups collection, or try these tangy key lime cheesecake cups for a citrus twist.
The Essential Components for Better-Than-Bakery Cannoli
Creating the perfect mini cannoli cups requires high-quality ingredients that prioritize texture. Here is what you will need and why each element matters for the final result.
The Golden Pastry Shells
Refrigerated Pie Crust or Puff Pastry: To achieve those visible flaky layers and a slight sheen, a high-quality butter-based pastry is essential. We use 2 pre-rolled sheets (approx. 14oz/400g).
Egg Wash: One large egg beaten with a splash of water ensures the shells bake to a deep golden-brown rather than looking pale and doughy.
Granulated Sugar: A tiny sprinkle (about 2 tablespoons) inside the shell before baking adds a subtle crystalline crunch that mirrors traditional fried cannoli dough.
The Velvety Ricotta Filling
Whole Milk Ricotta Cheese: You need 15oz (425g). Pro Tip: You must strain this for at least 4 hours to ensure the filling is thick and velvety enough to hold a piped shape.
Mascarpone Cheese: Adding 1/2 cup (115g) of mascarpone provides a professional stability and a luxurious mouthfeel that ricotta alone cannot achieve.
Powdered Sugar: 3/4 cup (90g) provides sweetness and helps stabilize the cream. A fine dusting of snowy powdered sugar on top is the final visual touch.
Orange Zest: 1 teaspoon of very finely grated zest. These microscopic orange zest flecks provide the signature aromatic profile of an authentic Sicilian cannoli.
Mini Dark Chocolate Chips: 1/3 cup (60g). Using “mini” chips is crucial so they don’t clog your star tip during piping.
How to Make Perfectly Crispy Mini Cannoli Cups
Preparing the Pastry Vessels
Start by preheating your oven to 375°F (190°C). Lightly grease a mini muffin tin. Roll out your pastry dough on a lightly floured surface until it is about 1/8 inch thick.
Use a 2.5-inch (6cm) round cookie cutter to stamp out circles. Carefully press each circle into the mini muffin tin, pleating the edges slightly to create a rustic, elegant mini cannoli cup shape.
Brush the edges with your egg wash. This is the secret to achieving that crispy, golden-brown toasted look you see in professional food photography. Bake for 10-12 minutes until the shells are firm and exhibit visible flaky layers.
Mastering the Piped Ricotta Swirl
While the shells cool completely, whisk your strained ricotta and mascarpone together until smooth. Gently fold in the powdered sugar, vanilla, and those microscopic orange zest flecks.
Fold in the mini dark chocolate chips last. Transfer the mixture to a piping bag fitted with a large star tip. This is critical for creating the tall, decorative swirl that defines this recipe.
The Final Decorative Touches
Only pipe the filling into the shells once they are completely cold to the touch. If the shells are even slightly warm, the ricotta cream will lose its structure and melt.
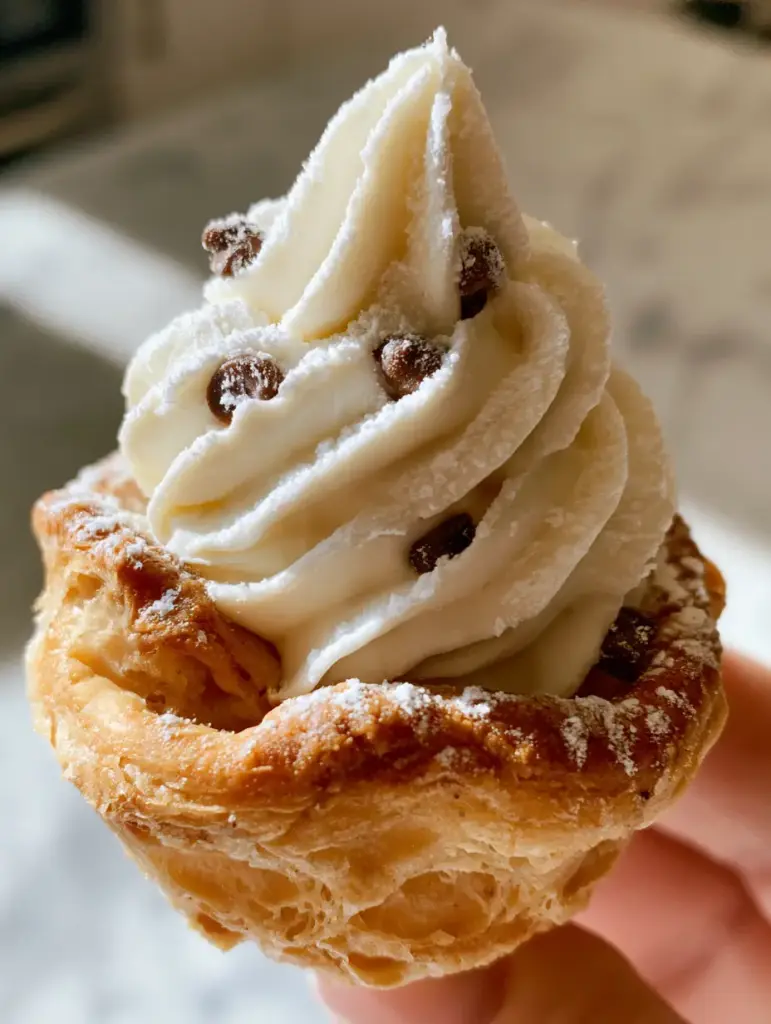
Hold the shell delicately by your fingertips and pipe a generous, rotating swirl from the center upward. Finish with a very fine, even dusting of snowy powdered sugar using a mesh sieve. The contrast of the white sugar against the golden-brown pastry is breathtaking.
Expert Tips for Success
- The Strain is Gain: Never skip straining your ricotta. Wet ricotta leads to a “soupy” filling that will soak into the pastry, making it soggy within minutes.
- Keep it Cold: Keep your filling in the refrigerator until the exact moment you are ready to pipe. The colder the mascarpone, the better the star tip definition will look.
- Avoid Over-Mixing: Once you add the powdered sugar, mix only until incorporated. Over-working the cheese can cause it to break down and become thin.
- Fresh Zest Matters: Use a microplane for the orange zest to ensure the flecks are truly microscopic, distributing flavor evenly without large bitter chunks.
Storage, Reheating & Freezing
Mini cannoli cups are best enjoyed within 2 hours of filling to maintain the maximum crunch of the flaky layers. However, you can store the unfilled, baked shells in an airtight container at room temperature for up to 3 days.
The ricotta filling can be made 24 hours in advance and stored in the piping bag in the refrigerator. We do not recommend freezing the filled cups, as the cream texture will change significantly upon thawing.
For more no-bake or easy-prep fillings, you might enjoy our oreo no-bake cheesecake cups which use a similar “cup” concept but with a cookie base.
What to Serve With Mini Cannoli
These mini cannoli cups are quite rich, so they pair beautifully with a bitter Italian espresso or a crisp glass of Vin Santo. If you are hosting a dessert party, consider a contrast of flavors by serving them alongside something tart, like our key lime cheesecake parfaits.
Frequently Asked Questions
You can bake the shells and make the cream 24 hours in advance. Store the shells in an airtight container at room temp and the cream in the fridge. Assemble just before your guests arrive.
Yes, you can use wonton wrappers! Brush them with butter and bake in the mini muffin tin at 350°F until golden. However, using pie crust or puff pastry provides the ‘flaky layers’ seen in the photos.
While not traditional for all cannoli recipes, mascarpone adds significant stability and a velvety texture that helps the piped swirl hold its shape much longer than ricotta alone.
The secret is two-fold: first, you must strain your ricotta for at least 4-12 hours to remove excess moisture. Second, only pipe the filling into the shells immediately before serving to maintain the shell’s crunch.
The Official Mini Cannoli Cup Recipe

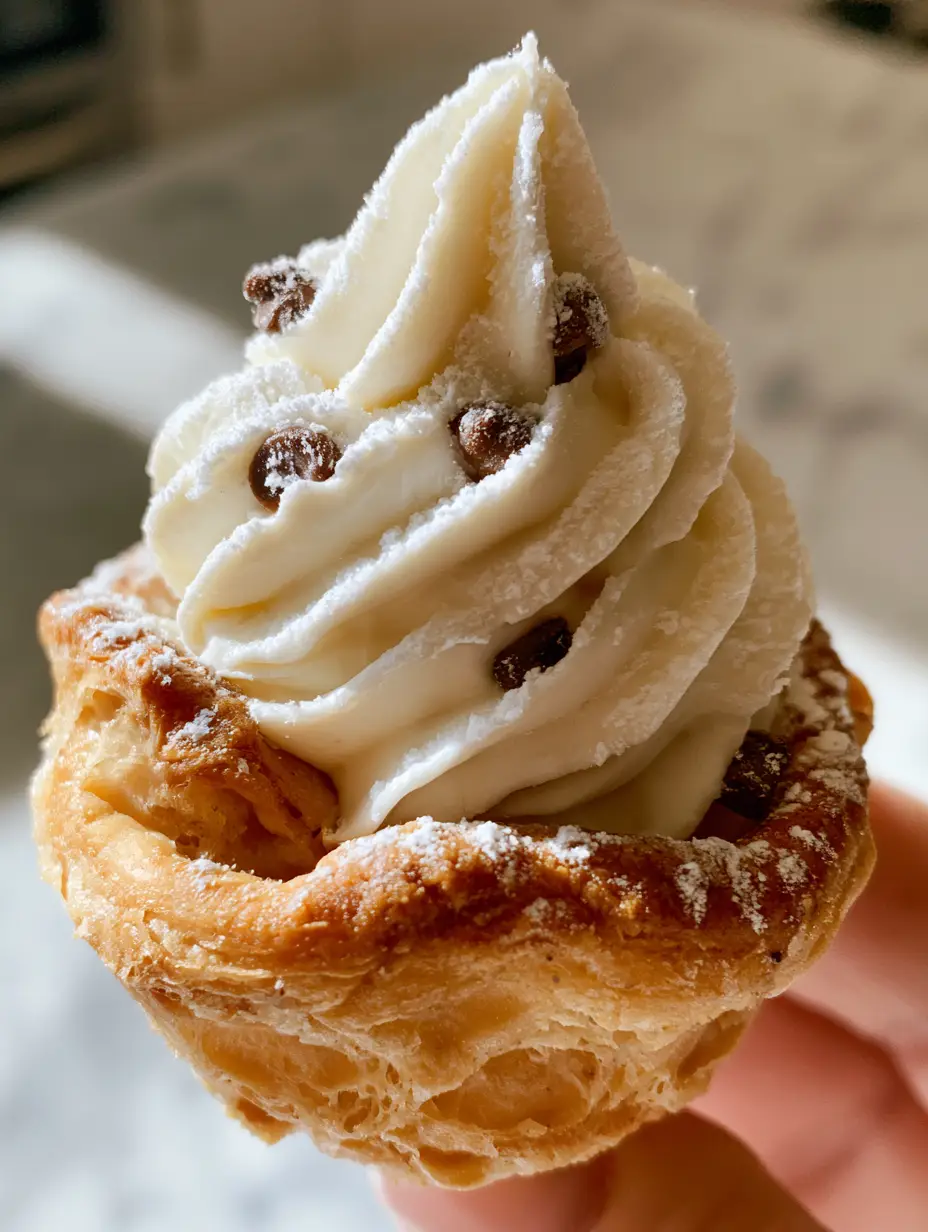
Mini cannoli cups: The Ultimate Flaky and Creamy Italian Dessert
Ingredients
Equipment
Method
- Preheat oven to 375°F (190°C). Roll out pastry dough and use a 2.5-inch cutter to create 24 circles.
- Press circles into mini muffin tin. Brush with egg wash and sprinkle with sugar. Bake 10-12 mins until golden-brown and flaky.
- Whisk strained ricotta and mascarpone until velvety. Fold in powdered sugar and microscopic orange zest flecks.
- Gently fold in mini dark chocolate chips. Transfer to a piping bag with a star tip.
- Pipe a tall decorative swirl of cream into each cooled shell. Dust with snowy powdered sugar just before serving.
Notes
Do not pipe the filling until the pastry cups are completely cold to the touch.
Save This Recipe to Pinterest!
Do not lose this recipe! Click the Pin button on any of the images to save these mini cannoli cups to your “Dessert Goals” or “Italian Recipes” board. If you make these, please come back and leave a 5-star rating or upload a photo of your beautiful creations in the comments below! Following @radiantdish on Pinterest ensures you never miss a new sweet treat.