Oreo No-Bake Cheesecake Cups are the ultimate solution for when you need a decadent, crowd-pleasing dessert without ever touching your oven. These individual dessert cups combine the iconic crunch of chocolate sandwich cookies with a velvety, cloud-like cream cheese filling that looks just as good as it tastes. Whether you are hosting a dinner party or just craving a midnight snack, these Oreo No-Bake Cheesecake Cups deliver professional results with minimal effort.
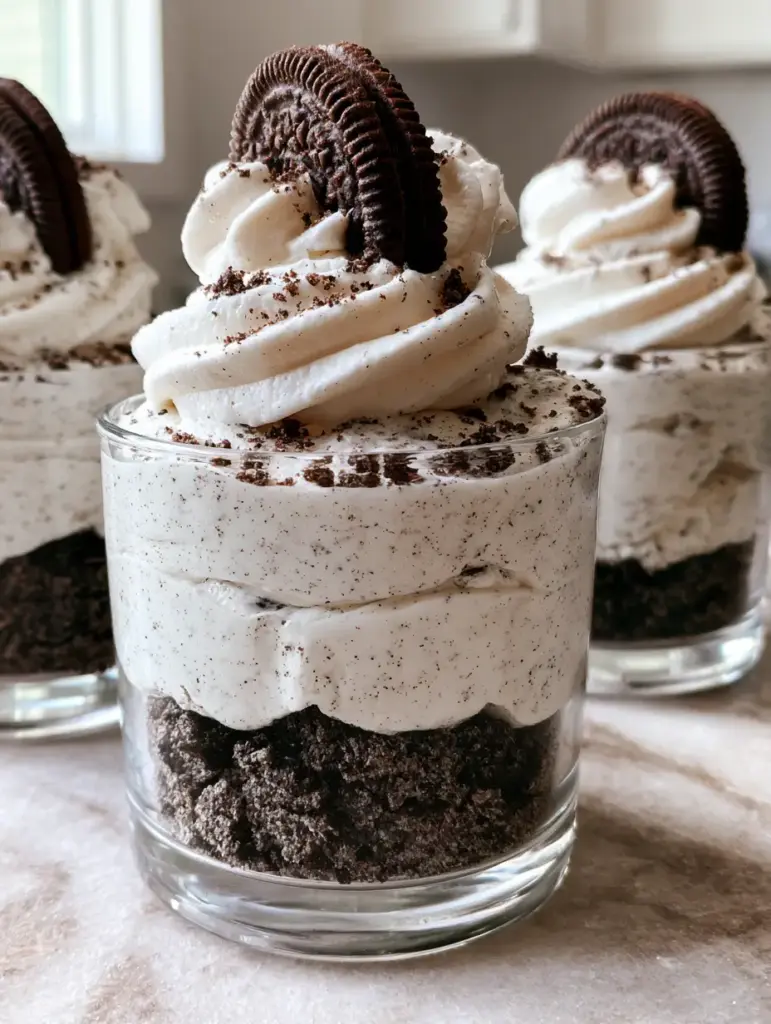
The beauty of this recipe lies in the contrast of textures. You start with a coarsely crushed Oreo cookie base that provides a satisfying snap, followed by a dense, velvety layer of white whipped cream cheese speckled with fine cookie dust. Topped with a stiff whipped cream swirl and a whole mini Oreo, this is the kind of treat that stops the scroll on Pinterest every single time. If you love individual portions, you might also enjoy our key lime cheesecake cups or these elegant mini cannoli cups.
Why You Will Love These Individual Cheesecake Parfaits
- Textural Perfection: The recipe features a coarsely crushed Oreo base that stays crunchy against the velvety filling.
- Zero Baking Required: No water baths, no cracked tops, and no heat—perfect for warm summer days.
- Visually Stunning: Served in glass dessert cups, the distinct black-and-white layers create a high-end minimalist aesthetic.
- Make-Ahead Friendly: These actually taste better after chilling, making them perfect for stress-free entertaining.
The Essential Ingredients for Cookies and Cream Bliss
To achieve that specific Midjourney-perfect look and professional mouthfeel, each ingredient serves a specific culinary purpose. We aren’t just mixing sugar and cheese; we are building a structural masterpiece.
Chocolate Sandwich Cookies (Oreos): You will use these in three ways: coarsely chopped for the base, finely pulsed into “dust” for the filling, and whole mini versions for the final garnish. You’ll need about 24 standard cookies plus mini ones.
Full-Fat Cream Cheese: Use 16 oz (450g) of brick-style cream cheese. Do not use the spreadable tub variety, as it lacks the structure needed for a dense, velvety layer.
Heavy Whipping Cream: 1.5 cups (360ml) of cold heavy cream is divided. Part is folded into the cheese to lighten it, and the rest is whipped into stiff peaks for the top swirl.
Powdered Sugar: 1 cup (120g) provides sweetness while the cornstarch in the sugar helps stabilize the no-bake filling.
Unsalted Butter: 4 tbsp (56g) of melted butter binds the coarsely crushed Oreo cookie base so it doesn’t fall apart when you dig in your spoon.
Pure Vanilla Extract: 1 tsp (5ml) rounds out the cocoa notes and enhances the “cream” flavor of the filling.
Step-By-Step: Crafting the Perfect Oreo Cheesecake Cup
Follow these steps closely to ensure your Oreo No-Bake Cheesecake Cups look exactly like the handheld smartphone photos you see on high-end food blogs.
Building the Crunchy Cookie Foundation
Place 12-14 Oreo cookies in a large zip-top bag. Use a rolling pin to coarsely crush them. You want distinct chunks, not a fine flour, to ensure that rustic, artisanal look in the bottom of your glass dessert cups. Mix the crumbs with the melted butter until it resembles wet sand.
Distribute the mixture evenly among 6 to 8 glass cups. Press down very lightly; if you pack it too hard, the base becomes difficult to break with a spoon. If you’re a fan of quick cookie fixes, check out our Oreo mug cake for a warm version of these flavors.
Creating the Velvety Speckled Filling
In a large bowl, beat the room temperature cream cheese and powdered sugar until completely smooth and aerodynamic. It should look like thick silk. Add the vanilla extract and a pinch of salt to balance the sugar.
Take 4-6 Oreos and pulse them in a food processor until they become a fine Oreo dust. Fold this dust into the cream cheese mixture. This creates that beautiful “speckled” look mentioned in our visual blueprint, ensuring every bite is infused with chocolate flavor.
The Secret to the Cloud-Like Texture
In a separate chilled bowl, whip 1/2 cup (120ml) of the heavy cream until it reaches stiff peaks. Gently fold the whipped cream into the cream cheese base. This step is crucial—it transforms a heavy block of cheese into a light, mousse-like whipped cream cheese filling.
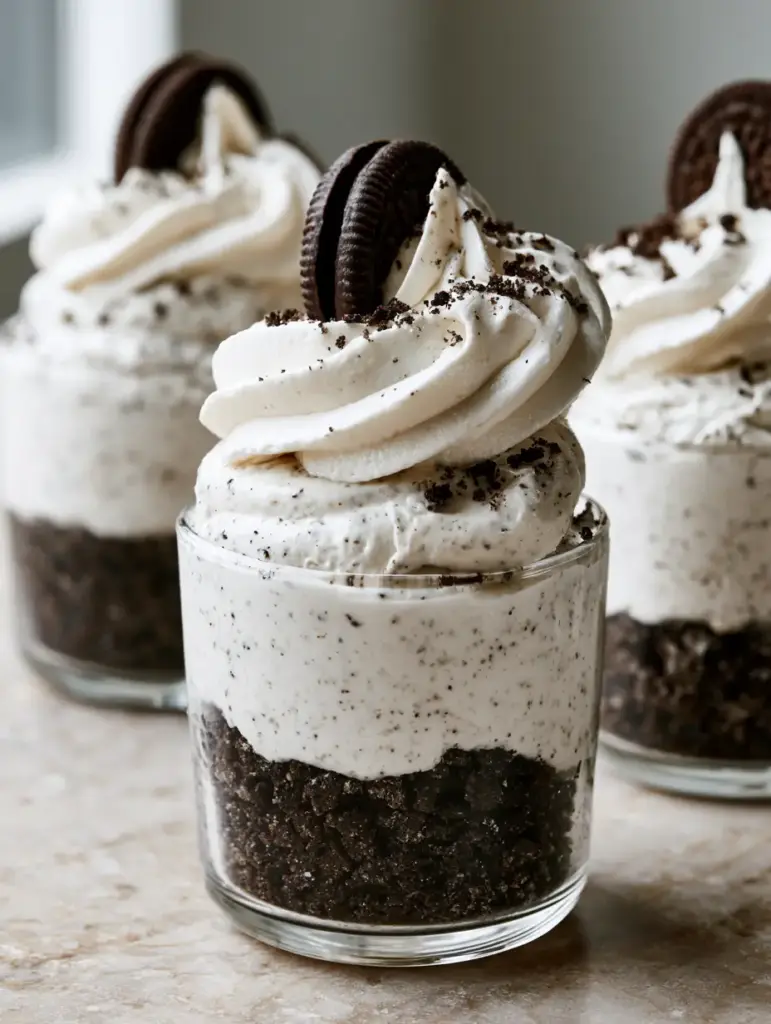
Pipe or spoon the filling over the cookie base in your glass dessert cups. Smooth the tops or leave them slightly textured; the speckled dust will catch the light beautifully under natural daylight.
The Professional Finishing Touches
Whip the remaining 1 cup (240ml) of heavy cream with a tablespoon of powdered sugar until it is very firm. Use a star tip to pipe a generous swirl of stiff whipped cream on each cup. This adds the vertical height necessary for a stunning Pinterest presentation.
Finish by tucking a single whole mini chocolate sandwich cookie into the cream at a 45-degree angle. Sprinkle a tiny pinch of leftover fine cookie crumbs over the top for that final “chef’s kiss” detail.
Expert Tips for Success
- Temperature Matters: Always ensure your cream cheese is truly room temperature before mixing, or you will end up with tiny white lumps that ruin the velvety filling texture.
- Chill Time is Mandatory: Let the cups set in the refrigerator for at least 2 hours. This allows the moisture from the filling to slightly soften the coarsely crushed Oreo base, creating the perfect bite.
- Clean Glass Walls: When filling your dessert cups, use a piping bag. This prevents smearing the filling on the sides of the glass, keeping those layers sharp and professional.
- Heavy Cream Stability: If you are serving these at a party, add a teaspoon of instant pudding mix or gelatin to the topping whipped cream to ensure the stiff whipped cream swirl doesn’t deflate.
Storage and Serving Suggestions
These Oreo No-Bake Cheesecake Cups should be stored in the refrigerator until the very moment of serving. They stay fresh and delicious for up to 3 days when covered with plastic wrap. Because they contain dairy, do not leave them at room temperature for more than 2 hours.
Can you freeze them? Yes! You can freeze the cups (without the whipped cream garnish) for up to a month. Thaw in the fridge for 4 hours before adding the final swirl and mini Oreo. This makes them a great alternative to key lime cheesecake parfaits for long-term meal prepping.
What to Serve With This Dessert
Since these cups are rich and creamy, they pair beautifully with a cup of strong espresso or a cold glass of milk. If you are hosting a full meal, consider a savory main like a ground turkey burger or a fresh street corn chicken salad to balance the indulgence of the cheesecake.
Frequently Asked Questions
Yes, these are perfect for making ahead! They need at least 2 hours to set, but can be made up to 24 hours in advance. Just wait to add the whipped cream swirl and mini Oreo until right before serving for the best visual appeal.
It is not recommended. Low-fat or whipped cream cheese from a tub has a higher water content and won’t set firmly enough to create the dense, velvety layer required for these cups.
While not strictly necessary, using a piping bag ensures the sides of your glass dessert cups stay clean, which is essential for that professional, layered minimalist aesthetic.
Runny filling usually happens if the cream cheese wasn’t full-fat or if the whipped cream wasn’t beaten to stiff peaks before folding. Make sure you use brick-style cream cheese and fold gently to maintain the aeration.
The Ultimate Oreo No-Bake Cheesecake Cups Recipe

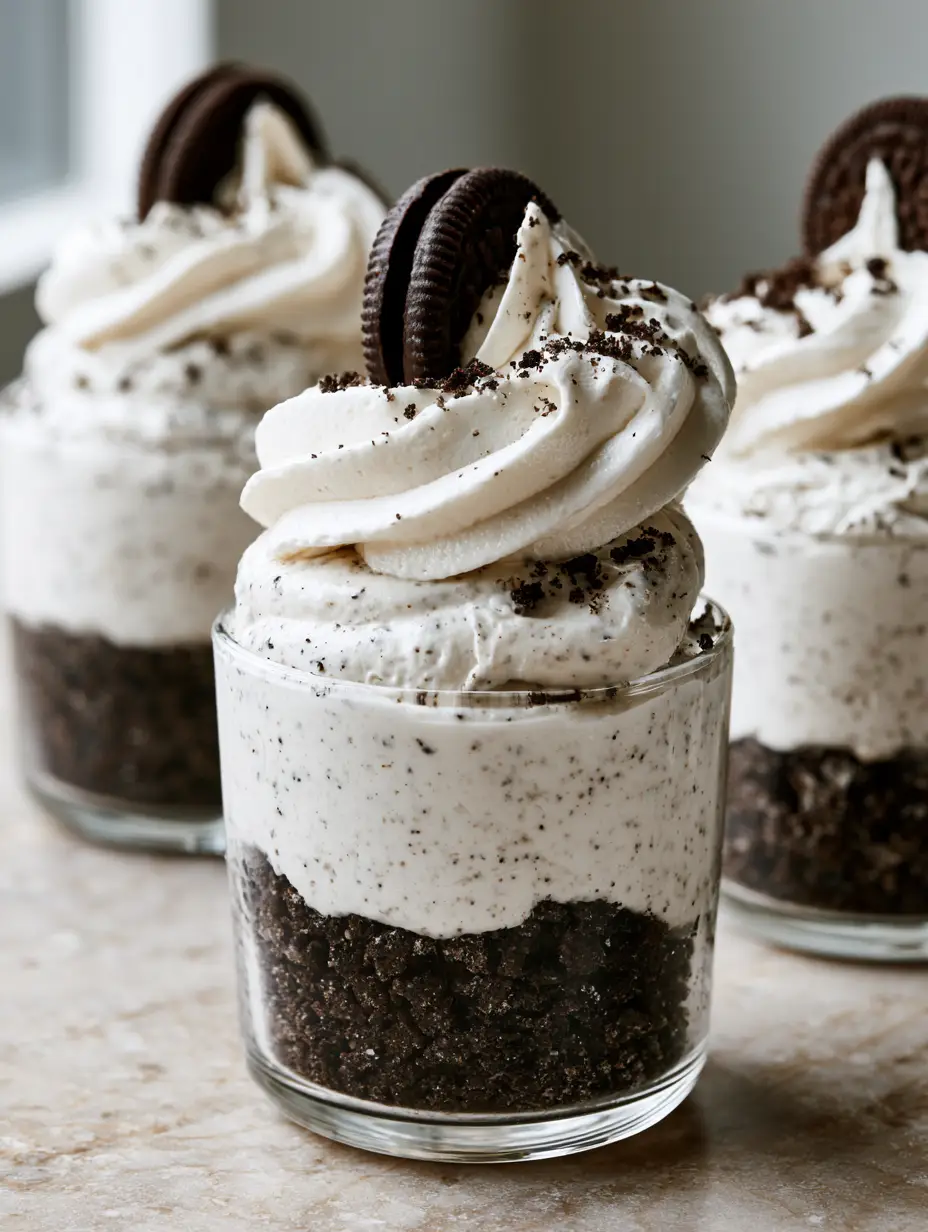
Oreo No-Bake Cheesecake Cups: The Easiest Gourmet Dessert
Ingredients
Equipment
Method
- Coarsely crush 12-14 Oreo cookies and mix with melted butter. Distribute into glass cups.
- Beat room temperature cream cheese, powdered sugar, and vanilla until smooth.
- Pulse 4-6 Oreos into a fine dust and fold into the cream cheese mixture.
- Whip 1/2 cup of heavy cream to stiff peaks and fold into the mixture.
- Pipe the speckled filling into the cups over the base. Chill for at least 2 hours.
- Top with a swirl of whipped cream, a mini Oreo, and extra cookie dust.
Notes
Ensure the heavy cream is very cold before whipping for maximum volume.
Show Off Your Creations!
Did you make these Oreo No-Bake Cheesecake Cups? We want to see your minimalist aesthetic results! Save this recipe to your “Dessert Goals” board on Pinterest so you never lose it. Follow @radiantdish for more ultra-realistic food inspiration. If you loved the crunch, leave us a 5-star rating and drop a photo of your cups in the comments below!