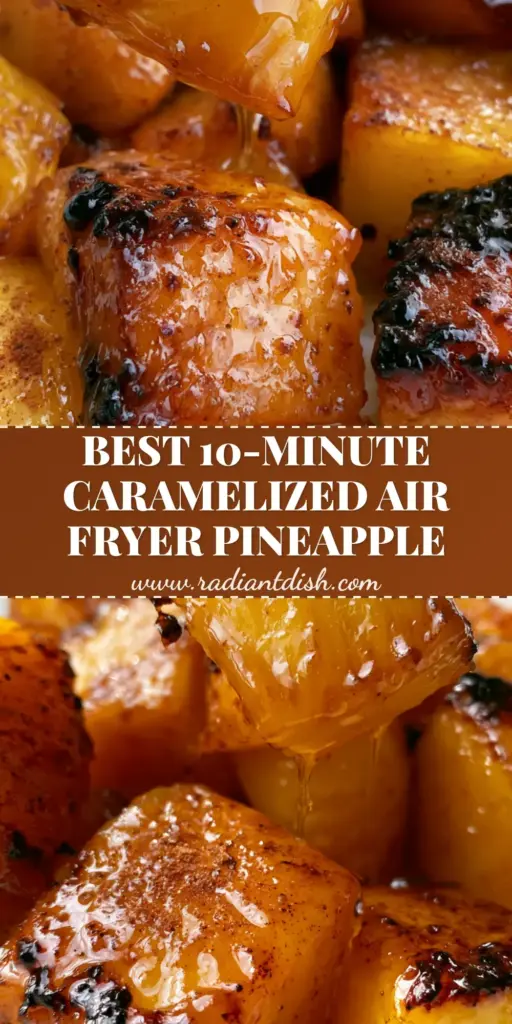
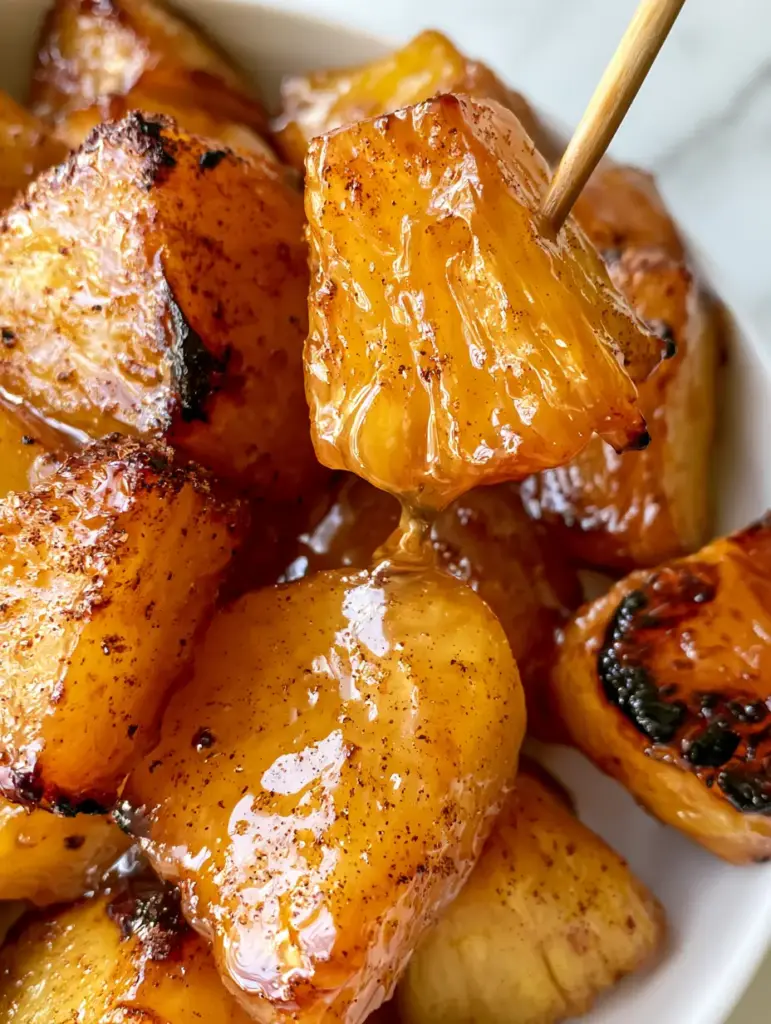
Air fryer pineapple chunks are the ultimate 10-minute treat that bridges the gap between a healthy snack and a decadent dessert. If you are looking for a way to transform fresh fruit into a warm, caramelized masterpiece with dark charred edges and a glassy sugar glaze, this recipe is for you. By using the rapid air technology of your favorite countertop appliance, we turn simple fruit into golden-yellow gems that look just as incredible as they taste. This method is a favorite for the Pinterest community at radiantdish because it is fast, vibrant, and incredibly satisfying.
Why You Will Crave These Caramelized Pineapple Chunks
- Perfect Textural Contrast: Experience the juicy, fibrous interior of the fruit against the thick, wet, translucent glassy glaze.
- Deep Flavor Profile: The combination of melted brown sugar and fine ground cinnamon creates a warm, aromatic coating.
- Maillard Magic: The air fryer creates dark caramelized spots and amber charred edges that you simply cannot get from a microwave.
- Quick Clean-Up: This recipe is as simple as tossing and air frying, making it perfect for a busy weeknight.
If you love using your appliance for quick treats, you might also enjoy our air fryer dill pickle chips for a salty counterpoint to this sweet dish.
The Essential Ingredients for a Translucent Glassy Glaze
To achieve that extreme macro-worthy look with clear sugar syrup droplets, you need the right balance of moisture and sugar. Here is what you will need:
Fresh Pineapple: You will need 1 medium pineapple, peeled, cored, and cut into 1-inch (2.5cm) chunks. Fresh fruit provides the best structure and fiber for air frying.
Brown Sugar: Use 1/4 cup (50g) of packed light or dark brown sugar. This is the base of our thick, wet glaze that caramelizes into a deep amber color.
Ground Cinnamon: 1 teaspoon (2g) of fine ground cinnamon adds warmth and visual interest with tiny dark specks across the fruit’s surface.
Melted Butter or Coconut Oil: 2 tablespoons (30ml) of fat helps the sugar adhere and promotes those dark charred edges.
Pinch of Salt: A tiny bit of sea salt balances the sweetness and enhances the natural tropical notes of the pineapple.
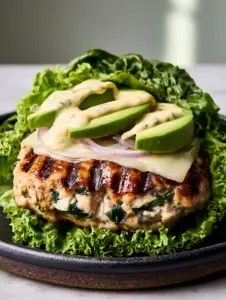
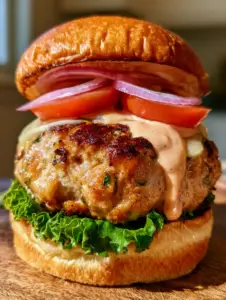
For a complete meal, these pineapple chunks make a phenomenal topping for a teriyaki turkey burger, adding a burst of sweetness to the savory poultry.
How to Make Air Fryer Pineapple Chunks: Step-by-Step
1. Prepping the Fruit for Maximum Surface Area
Start by slicing the top and bottom off your pineapple. Stand it upright and carefully shave off the skin.
Cut the fruit into uniform 1-inch (2.5cm) chunks. Consistency is key here; if the chunks are too small, they will turn to mush. If they are too large, the center won’t get warm before the charred edges form.
Pat the pineapple chunks dry with a paper towel. Removing excess surface moisture ensures the brown sugar glaze sticks rather than sliding off into the bottom of the air fryer basket.
2. Creating the Signature Spiced Glaze
In a large mixing bowl, whisk together the 1/4 cup (50g) of brown sugar, 1 teaspoon (2g) of cinnamon, and 2 tablespoons (30ml) of melted butter.
Add the pineapple chunks to the bowl. Use a silicone spatula to toss the fruit gently until every piece is coated in a thick, wet, translucent glassy glaze.
You should see fine specks of ground cinnamon evenly distributed across the golden-yellow fruit.
3. The Air Frying Process
Preheat your air fryer to 400°F (200°C). A hot basket is the secret to getting those deep amber charred edges immediately.
Arrange the air fryer pineapple chunks in a single layer. Do not overcrowd the basket, or the fruit will steam instead of caramelizing.
Cook for 8 to 10 minutes. At the 5-minute mark, shake the basket or use tongs to flip the chunks. This ensures that dark caramelized spots develop on all sides.
4. Visual and Sensory Cues for Doneness
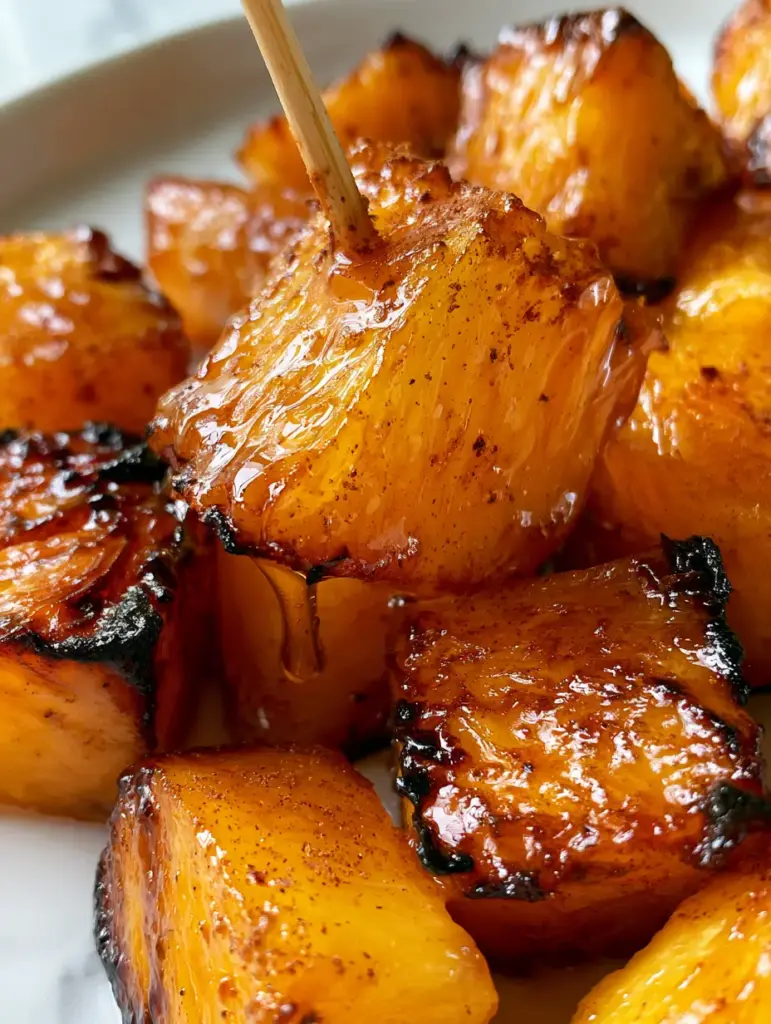
Your pineapple is ready when the kitchen smells like a tropical bakery. Look for clear sugar syrup droplets bubbling on the surface of the fruit.
The edges should be noticeably dark—almost burnt—which provides a bitter-sweet complexity to the dish. When you lift a chunk with a wooden pick, you should see a string of syrup following it.
Expert Tips for Success
- Don’t Skip the Fat: The butter or oil is what allows the sugar to reach the high temperatures needed for caramelization.
- Use a Liner for Easy Cleanup: The melted brown sugar glaze can be sticky. Use a perforated parchment liner designed for air fryers to make cleanup a breeze.
- Adjust Sweetness: If your pineapple is exceptionally ripe, you can reduce the sugar by half and still achieve dark charred edges.
- Serve Warm: The glassy glaze is best when it is still “wet” and warm. As it cools, it will thicken and eventually harden slightly.
If you’re looking for more air-fried snacks to serve at your next gathering, consider adding air fried babybel cheese to the menu for a gooey, savory treat.
Storage, Reheating, and Freezing
Storage: Store leftover air fryer pineapple chunks in an airtight container in the refrigerator for up to 3 days. Note that the glaze will become more liquid over time.
Reheating: To restore the caramelized spots, pop them back into the air fryer at 350°F (175°C) for 2-3 minutes. Avoid the microwave, as it will make the fruit rubbery.
Freezing: We do not recommend freezing this specific recipe, as the cellular structure of the pineapple breaks down, and the glassy glaze will lose its texture upon thawing.
What to Serve With This Tropical Treat
These air fryer pineapple chunks are incredibly versatile. Here are our favorite ways to enjoy them:
Dessert Topping: Serve them warm over vanilla bean ice cream or alongside key lime cheesecake parfaits for a citrusy, tropical explosion.
Breakfast Boost: Stir a handful of these chunks into your morning chia pudding or overnight oats for a burst of natural energy and sweetness.
Savory Side: Pair these with grilled chicken, pork chops, or even inside a taco for a sweet-and-spicy contrast.
Frequently Asked Questions
These are best served fresh and warm to maintain the ‘glassy’ texture of the glaze. However, you can prep the pineapple and the glaze ahead of time and toss/cook them just before serving.
While you can use canned chunks, they are much softer and hold more moisture than fresh. If using canned, pat them extremely dry and reduce the cooking time by 2 minutes to prevent them from becoming too mushy.
The easiest way is to use a piece of perforated parchment paper or a silicone air fryer liner. This catches the clear sugar syrup droplets and makes cleanup significantly faster.
Pineapple is rich in vitamins and fiber. While this recipe adds brown sugar for caramelization, it is still a much lighter alternative to traditional cakes or pastries. You can substitute the sugar with a monk fruit sweetener for a lower-carb version.
This usually happens if the air fryer basket is overcrowded or the temperature is too low. Ensure the chunks are in a single layer with space between them and that the air fryer is preheated to 400°F (200°C).
The Ultimate Air Fryer Pineapple Chunks Recipe
Air Fryer Pineapple Chunks with Brown Sugar and Cinnamon
Ingredients
Equipment
Method
- Peel, core, and cut the fresh pineapple into uniform 1-inch (2.5cm) chunks. Pat dry with paper towels to remove excess moisture.
- In a large bowl, whisk together melted butter, brown sugar, cinnamon, and salt. Add pineapple chunks and toss until coated in a thick, wet glaze.
- Preheat air fryer to 400°F (200°C). Place chunks in a single layer in the basket. Cook for 8-10 minutes, shaking halfway through.
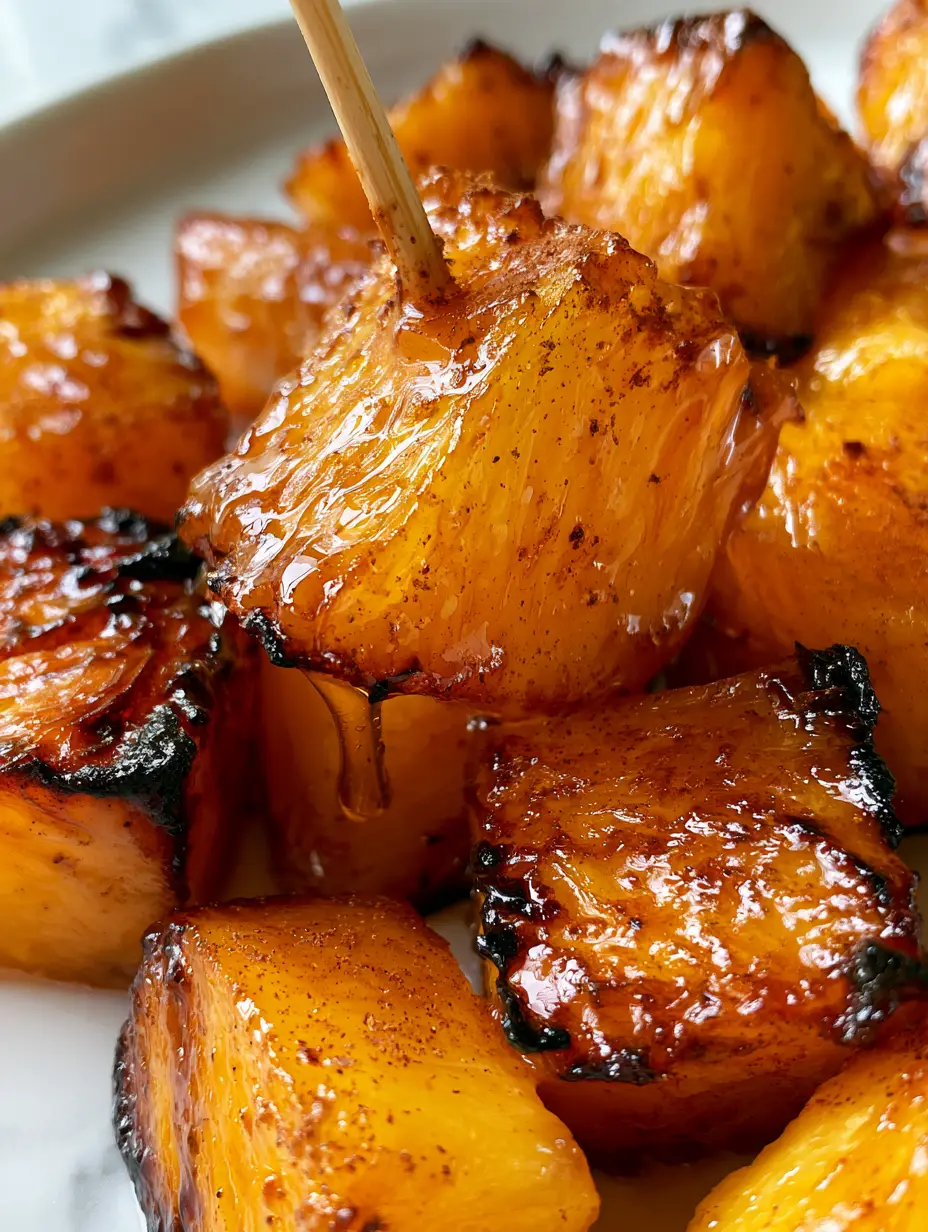
- Remove when pineapple shows dark charred edges and the sugar glaze is bubbling with clear syrup droplets. Serve warm.
Notes
Ensure the pineapple is fresh; canned pineapple is often too soft to hold up to the high heat.
Join the Radiant Dish Community!
Did you make these air fryer pineapple chunks? We want to see your results! The dark charred edges and sticky cinnamon glaze make for the most beautiful food photos.
Please Save this recipe to your Pinterest boards so you never lose it! Follow radiantdish for more high-flavor, low-effort air fryer recipes. If you loved this dish, leave us a 5-star rating in the recipe card above and drop a photo in the comments below. Happy cooking!