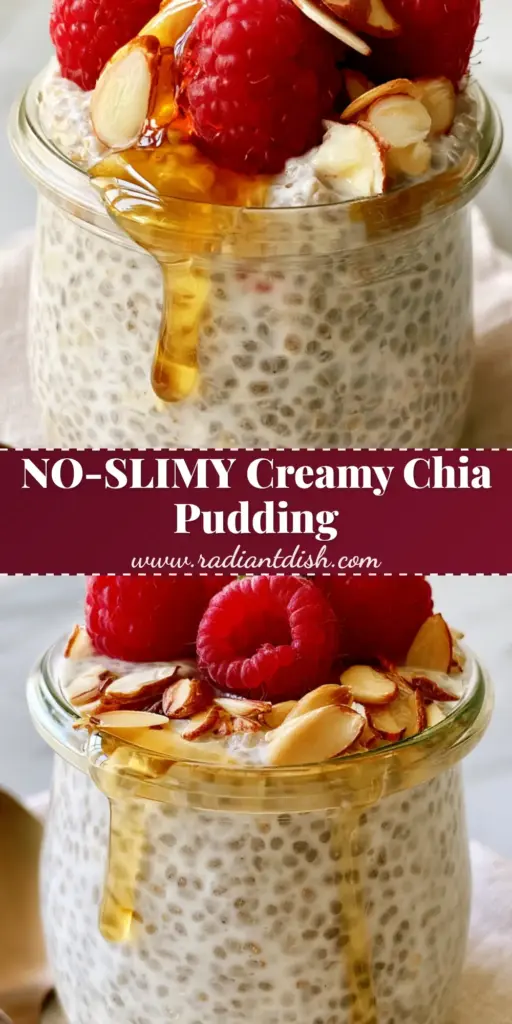
Chia pudding is the ultimate breakfast hack for anyone seeking a thick, indulgent, and nutrient-dense start to their day. This recipe focuses on achieving a specific, non-runny texture that feels more like a gourmet dessert than a health food staple. By using full-fat coconut milk and organic chia seeds, we create a velvet-like base that serves as the perfect canvas for vibrant toppings.
If you are scrolling through Pinterest looking for that perfect chia pudding that actually stays thick, you have found it. Unlike watery versions, this recipe relies on a precise hydration ratio to ensure every seed is perfectly plump. The result is a dense, creamy consistency that rivals our favorite dessert cups in both flavor and presentation.
Why This Thick Coconut Chia Pudding Works
- Ultra-Creamy Texture: The use of full-fat coconut milk provides a luxurious mouthfeel that lower-fat milks simply cannot replicate.
- Perfectly Hydrated Seeds: We use a specific ratio to ensure the chia pudding is dense and non-runny, matching the professional visual standards of high-end cafes.
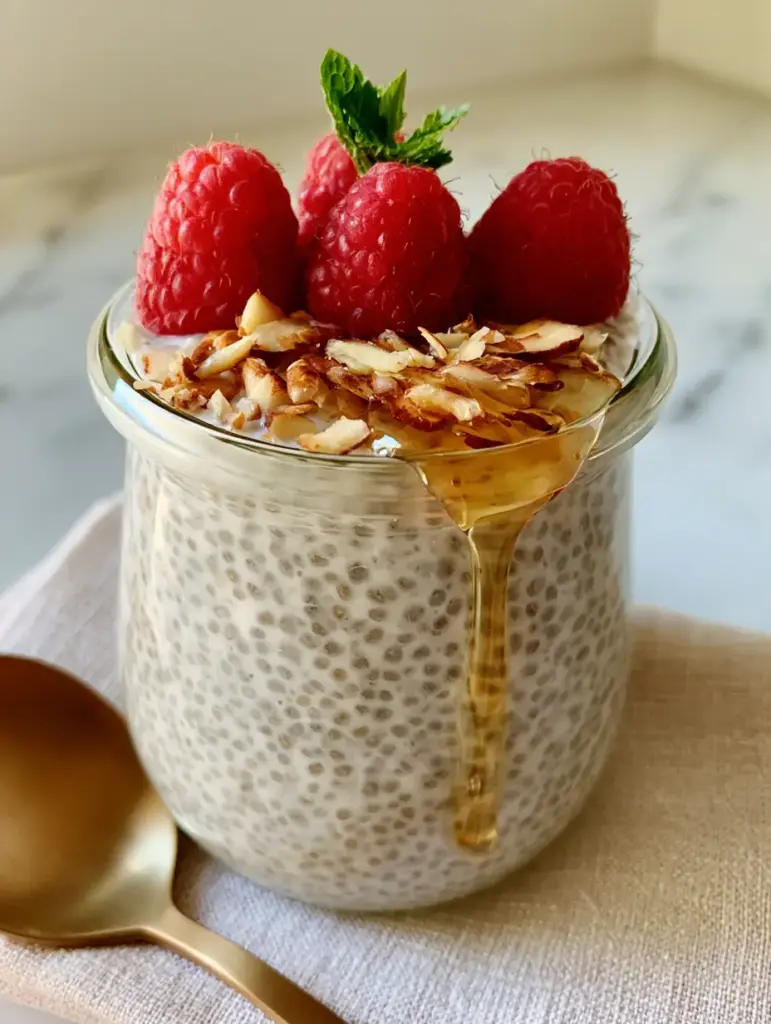
- Natural Sweetness: A mid-drip drizzle of golden maple syrup adds a refined sweetness that complements the tartness of fresh raspberries.
- Pinterest-Ready Visuals: With toasted almonds for crunch and a fresh mint sprig, this dish is designed to be as beautiful as it is delicious.
The Secret Ingredients for a Non-Runny Base
To achieve the best chia pudding, every ingredient must serve a culinary purpose. We aren’t just mixing seeds and liquid; we are building a structural masterpiece of healthy fats and fiber.
Organic Chia Seeds: These are the powerhouse of the recipe. They can absorb up to 12 times their weight in liquid. Using high-quality organic seeds ensures better hydration and a cleaner taste.
Full-Fat Coconut Milk: For that “spoon-standing-up” thickness, full-fat canned coconut milk is essential. It provides the medium-chain triglycerides (MCTs) that give the chia pudding its signature creamy weight.
Golden Maple Syrup: We use maple syrup not just for sweetness, but for its viscosity. It adds a slight floral note that pairs perfectly with vanilla.
Vanilla Extract: A splash of high-quality vanilla extract bridges the gap between the nutty seeds and the tropical coconut milk.
Toasted Sliced Almonds: Texture is key. Slicing and toasting your almonds brings out their essential oils, providing a smoky crunch that offsets the soft pudding.
How to Make the Creamiest Chia Pudding
Step 1: The Initial Whisk
In a minimalist glass jar or a small mixing bowl, combine 1/4 cup (40g) of chia seeds with 1 cup (240ml) of full-fat coconut milk. Add 1 tablespoon (15ml) of maple syrup and 1/2 teaspoon (2.5ml) of vanilla extract. Whisk vigorously for at least two minutes. This prevents the seeds from clumping at the bottom, which is the most common mistake in making chia pudding.
Step 2: The Bloom Phase
Let the mixture sit at room temperature for 10 minutes, then whisk again. This “double whisk” method ensures that every individual seed has access to the liquid. You will notice the chia pudding beginning to thicken almost immediately. If you enjoy meal prepping, this is just as easy to set up as our overnight oats recipe.
Step 3: The Cold Set
Cover the jar and refrigerate for at least 4 hours, though overnight is preferred for the thickest results. The cold temperature allows the coconut fats to solidify slightly, creating that dense, non-runny texture visible in our visual blueprint.
Step 4: The Visual Crown
Once set, remove the chia pudding from the fridge. The seeds should be perfectly hydrated and visible throughout the creamy base. Top with a vibrant crown of three fresh, plump raspberries. Sprinkle a generous tablespoon of toasted sliced almonds over one side for architectural height.
Step 5: The Maple Drip
To finish, place a tiny sprig of fresh mint in the center. Carefully drizzle a final teaspoon of golden maple syrup so it captures that “mid-drip” look down the side of the glass. Serve with a matte gold spoon for the ultimate aesthetic experience.
Expert Tips for Success
- Avoid Clumps: If you see clumps, use a fork to break them up during the second whisking phase. A smooth chia pudding depends entirely on this step.
- Toast the Nuts: Never use raw almonds. Toasting them in a dry pan for 3-5 minutes until golden brown transforms the flavor profile of the entire dish.
- Milk Choice: If you find coconut milk too heavy, you can use a 50/50 blend of coconut milk and almond milk, though it will slightly decrease the thickness.
- Sweetness Balance: Always taste your base before the cold set. You can adjust the maple syrup levels based on the ripeness of your raspberries.
Storage and Meal Prep Instructions
This chia pudding is a meal prepper’s dream. You can store the base (without toppings) in an airtight jar for up to 5 days in the refrigerator. We recommend adding the fresh raspberries and toasted almonds just before serving to maintain the crunch and fruit integrity.
We do not recommend freezing chia pudding, as the texture of the hydrated seeds can become mushy upon thawing. For more easy-to-grab snacks, try our Key Lime Cheesecake Parfaits.
What to Serve With This Recipe
While this is a filling breakfast on its own, it also works beautifully as a side dish for a brunch spread. Pair it with a savory protein like a ground turkey burger or alongside a fresh street corn chicken salad for a balanced meal.
Frequently Asked Questions
Yes, you can use almond milk, but the pudding will be thinner and less creamy than the full-fat coconut milk version. You may want to increase the chia seeds by a teaspoon to maintain thickness.
No, you do not need to grind them. Whole chia seeds absorb liquid to create a gel-like coating, which provides the classic texture. Grinding them results in a much smoother, mousse-like consistency.
While it starts thickening in 10-15 minutes, for the best dense and creamy results, it should refrigerate for at least 4 hours or ideally overnight.
Yes! Chia seeds are high in fiber and low in net carbs. To keep this recipe keto, simply replace the maple syrup with a sugar-free sweetener like monk fruit or stevia.
Watery pudding is usually caused by using a liquid-to-seed ratio that is too high or using a low-fat milk. To fix this, stick to a 1:4 ratio of seeds to liquid and always use full-fat coconut or whole milk.
The Perfect Coconut Chia Pudding Recipe
Chia Pudding: The Ultimate Ultra-Creamy Coconut Recipe
Ingredients
Equipment
Method
- In a minimalist glass jar, combine chia seeds, coconut milk, maple syrup, and vanilla. Whisk vigorously for 2 minutes.
- Let sit for 10 minutes at room temperature, then whisk again to break up any seed clumps.
- Cover and chill for at least 4 hours, or overnight, until the pudding is thick and non-runny.
- Top with fresh raspberries, toasted almonds, and a mint sprig. Finish with a drizzle of maple syrup down the side.
Notes
Use full-fat canned coconut milk for the thickest, creamiest result.
Join the Radiant Dish Community!
Did this chia pudding turn out ultra-creamy for you? We want to see your results! Save this recipe to your “Healthy Breakfast” board on Pinterest and follow radiantdish for more daily inspiration. If you made this, please snap a photo, share it in the comments below, and leave a 5-star rating to help other home cooks find this recipe!