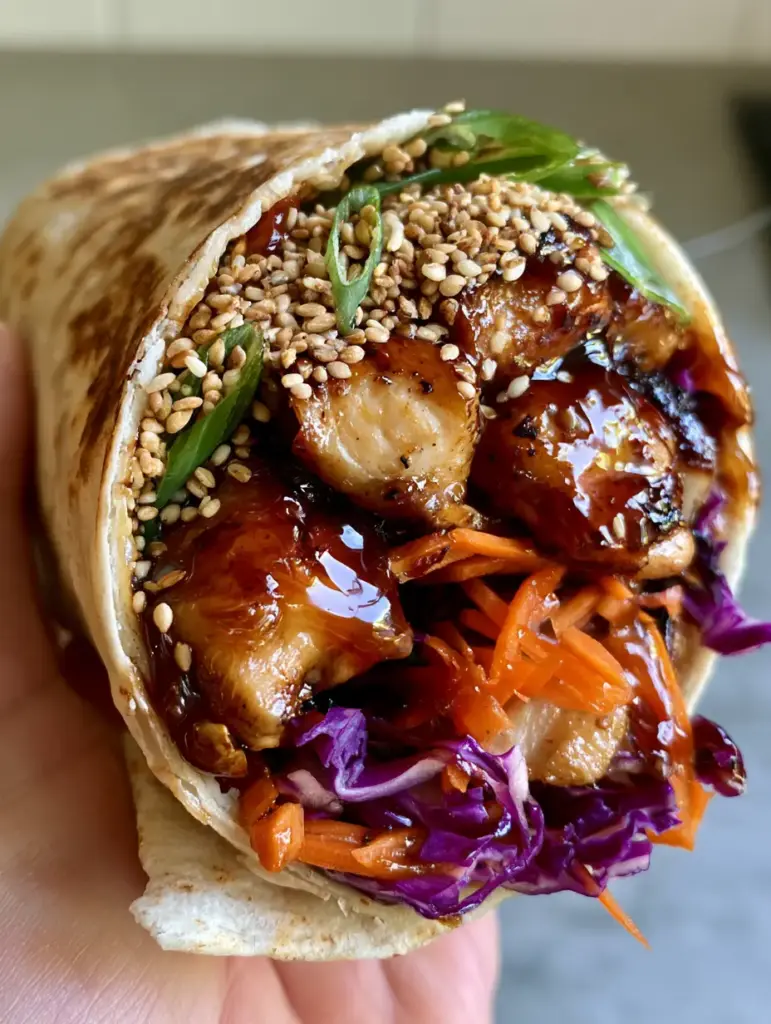
This Teriyaki Chicken Wrap is the ultimate solution for anyone craving a restaurant-quality lunch that hits every single sensory note. Imagine juicy, seared chicken thighs dripping in a thick, shimmering dark amber teriyaki glaze, all tucked inside a golden-brown toasted flour tortilla. The contrast between the warm, savory chicken and the cold, vibrant crunch of shredded purple cabbage and julienned carrots creates a viral-worthy bite every time.
Whether you are looking for a quick weeknight win or a meal-prep masterpiece, this Teriyaki Chicken Wrap delivers. We aren’t just making a sandwich; we are building a texture profile featuring toasted white sesame seeds, razor-thin scallions, and delicate micro-greens. It’s fresh, it’s bold, and it’s designed to keep you full without the heavy slump.
Why This Teriyaki Chicken Wrap Recipe Actually Works
- The Perfect Sear: By using high-heat techniques on chicken thighs, we achieve a caramelized exterior that locks in moisture, ensuring your wrap is never dry.
- Glossy Glaze Factor: We use a specific cornstarch slurry method to ensure the teriyaki sauce is thick enough to coat the chicken without making the tortilla soggy.
- Vibrant Texture Contrast: The combination of raw, crisp slaw and toasted sesame seeds provides a “snap” that mirrors the best professional Asian-fusion street food.
- Toasted Tortilla Finish: We don’t just wrap and serve; we griddle the final Teriyaki Chicken Wrap to create a shatteringly crisp golden crust.
The Anatomy of a Perfect Teriyaki Chicken Wrap: Key Ingredients
To achieve the look and taste of our Visual Recipe Blueprint, you need ingredients that offer both structural integrity and deep flavor. Here is what you’ll need to gather:
Boneless Skinless Chicken Thighs: 1.5 lbs (680g). We choose thighs over breasts because they remain succulent under high heat and pair perfectly with a classic teriyaki chicken flavor profile.
Large Flour Tortillas: 4 count. Look for “burrito size” to ensure you have enough surface area to achieve that beautiful golden-brown toast without the filling falling out.
Shredded Purple Cabbage: 2 cups (140g). This provides the essential vibrant purple hue and a robust crunch that stands up to the warm glaze.
Julienned Carrots: 1 cup (125g). Bright orange matchsticks add sweetness and a secondary level of crispness.
The Glaze Base: A blend of 1/2 cup (120ml) soy sauce, 1/4 cup (60ml) water, 3 tbsp (45ml) honey, and 1 tsp (5g) grated ginger. This creates that dark amber shimmer seen in our Midjourney Prompt.
Aromatic Garnishes: 2 tbsp (18g) toasted white sesame seeds, 3 thinly sliced scallions, and a handful of fresh micro-greens. These are the “jewelry” of the dish, adding visual height and a final pop of freshness.
How to Make the Ultimate Seared Teriyaki Chicken
Step 1: Achieving the Golden Sear
Pat your chicken thighs dry with paper towels. Season lightly with salt and pepper. Heat 1 tbsp (15ml) of high-smoke-point oil in a heavy skillet over medium-high heat.
Place the chicken in the pan, ensuring they aren’t crowded. Sear for 5-6 minutes per side until a deep, golden-brown crust forms. This is the foundation of the Teriyaki Chicken Wrap flavor.
Step 2: Reducing the Thick Glossy Glaze
While the chicken rests, wipe out the pan and add your soy sauce mixture. Bring to a simmer over medium heat. Whisk 1 tbsp (8g) of cornstarch with 1 tbsp (15ml) of cold water to create a slurry.
Slowly whisk the slurry into the bubbling sauce. Watch as it transforms into a thick, glossy, dark amber glaze. Toss the sliced chicken chunks back into this liquid gold until every piece is shimmering and fully coated.
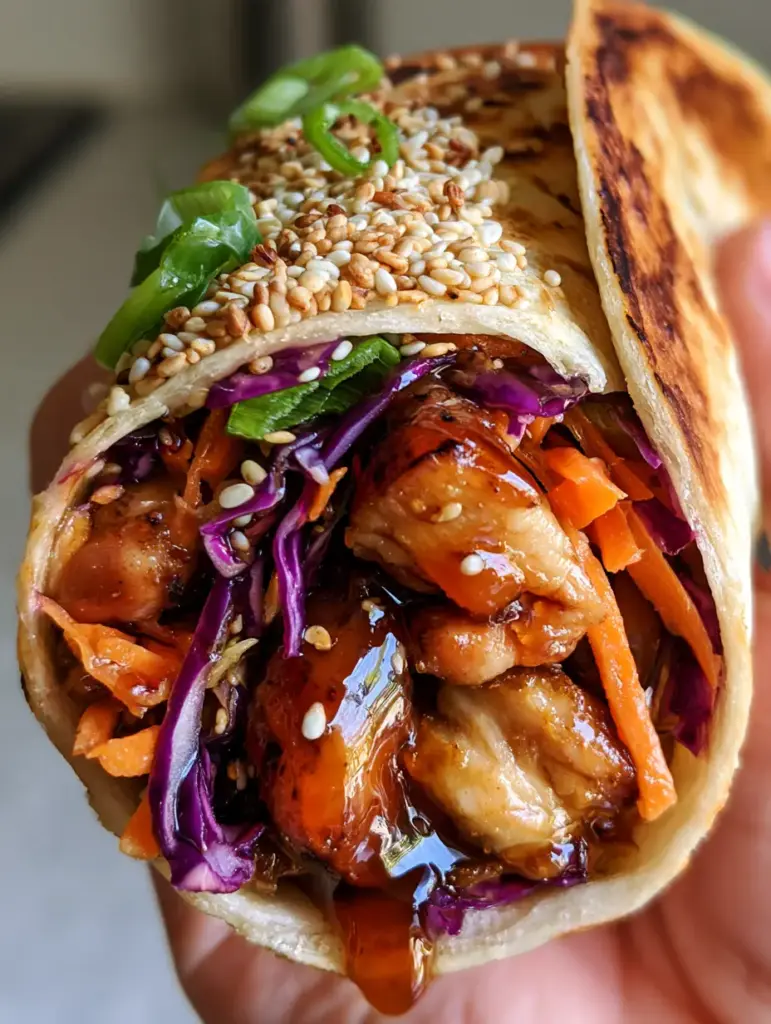
Assembling Your Teriyaki Chicken Wrap for Maximum Visual Appeal
Step 3: Layering the Crunch
Lay your flour tortilla flat. In the center, place a generous bed of the shredded purple cabbage and julienned carrots. This “slaw” layer acts as a barrier, keeping the Teriyaki Chicken Wrap interior crisp.
Top the vegetables with the warm, glazed chicken chunks. Ensure you drizzle a little extra sauce from the pan over the chicken—look for those tiny droplets of clear sauce reflecting the light.
Step 4: The Finishing Touches
Before folding, sprinkle a heavy dusting of toasted white sesame seeds and the razor-thin scallions. Add the micro-greens garnish for a professional, high-end finish. This is a great addition to your rotation of healthy summer dinners.
Step 5: The Final Toast
Fold the sides of the tortilla in and roll tightly. Place the wrap seam-side down in a clean, hot skillet. Toast for 1-2 minutes per side until the exterior is golden-brown and crisp. This step melts the flavors together and provides that essential structural snap.
Expert Tips for Pinterest-Perfect Wraps
- Cold Slaw, Hot Chicken: Always use cold vegetables. The temperature contrast between the chilled cabbage and the hot, glazed chicken is what makes this wrap addictive.
- Don’t Overstuff: It is tempting to pile on the chicken, but leave at least 2 inches of border on the tortilla to ensure a tight, clean seal.
- The Cross-Section Cut: For the best photos, use a very sharp serrated knife to cut the wrap at a slight diagonal. This reveals the beautiful layers of purple, orange, and amber.
- Add Pineapple: If you love a tropical twist, consider adding grilled pineapple bits, similar to the flavors found in Hawaiian teriyaki chicken kabobs.
Storage, Reheating, and Meal Prep
The Teriyaki Chicken Wrap is a fantastic meal prep option. To keep things fresh, store the glazed chicken and the raw slaw in separate containers in the refrigerator for up to 3 days.
When ready to eat, reheat the chicken in a skillet or microwave, then assemble the wrap and toast it fresh. We do not recommend freezing the fully assembled wrap, as the cabbage will lose its signature crunch.
What to Serve with a Teriyaki Chicken Wrap
Since this wrap is quite hearty, pair it with light, acidic sides. A simple cucumber salad with rice vinegar dressing or a side of edamame works perfectly. If you are looking for more finger food inspiration, check out our savory snack ideas.
Frequently Asked Questions
Absolutely. You can prepare the glaze and store it in the fridge for up to a week. Just reheat it in a pan until it returns to its shimmering, liquid state before tossing with the chicken.
Yes, but be careful not to overcook them. Thighs are preferred because they stay juicy during the searing and glazing process, providing a better texture for the wrap.
The secret is two-fold: thicken your glaze with a cornstarch slurry so it stays on the chicken, and layer your dry, shredded cabbage against the tortilla first to act as a moisture barrier.
To make this gluten-free, substitute the flour tortilla for a large gluten-free wrap or lettuce leaves, and ensure you use Tamari instead of traditional soy sauce.
Radish or broccoli micro-greens provide a nice spicy or earthy kick that complements the sweetness of the teriyaki glaze beautifully.
The Complete Teriyaki Chicken Wrap Recipe
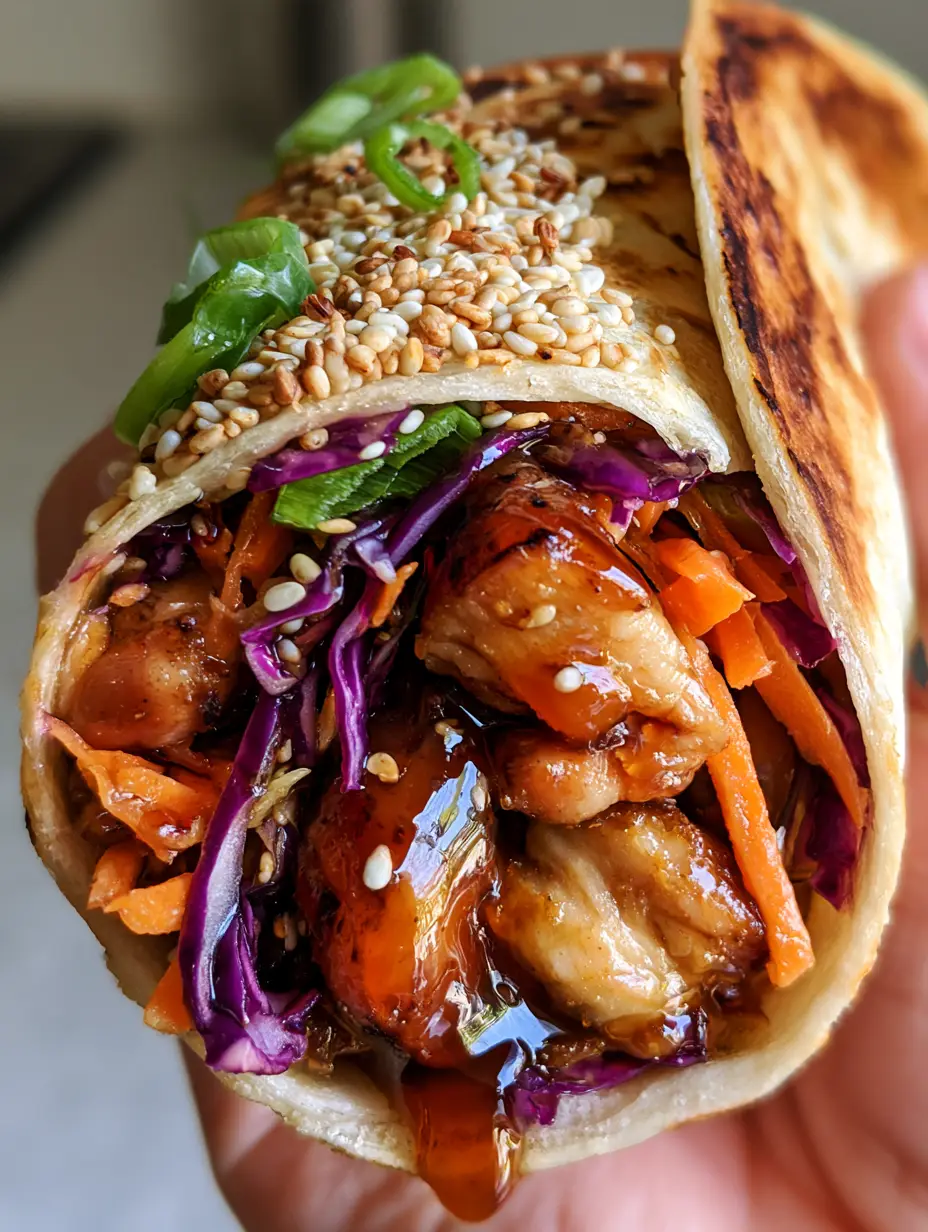
Teriyaki Chicken Wrap with Crunchy Slaw and Glossy Glaze
Ingredients
Equipment
Method
- Heat oil in a skillet over medium-high. Sear chicken chunks until golden brown and cooked through, about 10 minutes. Remove and set aside.
- In the same pan, combine soy sauce, honey, and ginger. Simmer, then whisk in cornstarch slurry until the sauce becomes a thick, glossy, dark amber glaze.
- Place cabbage and carrots in the center of a tortilla. Top with glazed chicken, sesame seeds, scallions, and micro-greens.
- Fold tightly and place seam-side down in a hot pan. Toast until the tortilla is golden-brown and crisp on all sides.
Notes
The cornstarch slurry is the secret to a glaze that won't make your wrap soggy.
Share the Love!
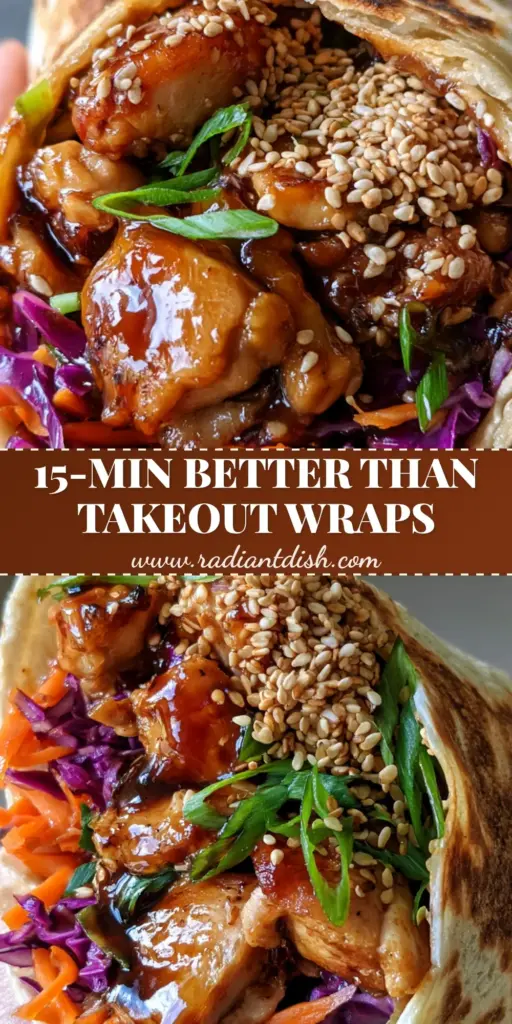
If you made this Teriyaki Chicken Wrap and it turned out as beautiful as our photos, we want to see it! Please save this recipe to your Pinterest boards so you never lose it. Follow @radiantdish for more daily recipe inspiration.
Don’t forget to leave a 5-star rating in the recipe card below and upload a photo of your wrap in the comments. Your feedback helps our community grow and helps us keep creating free recipes for you!