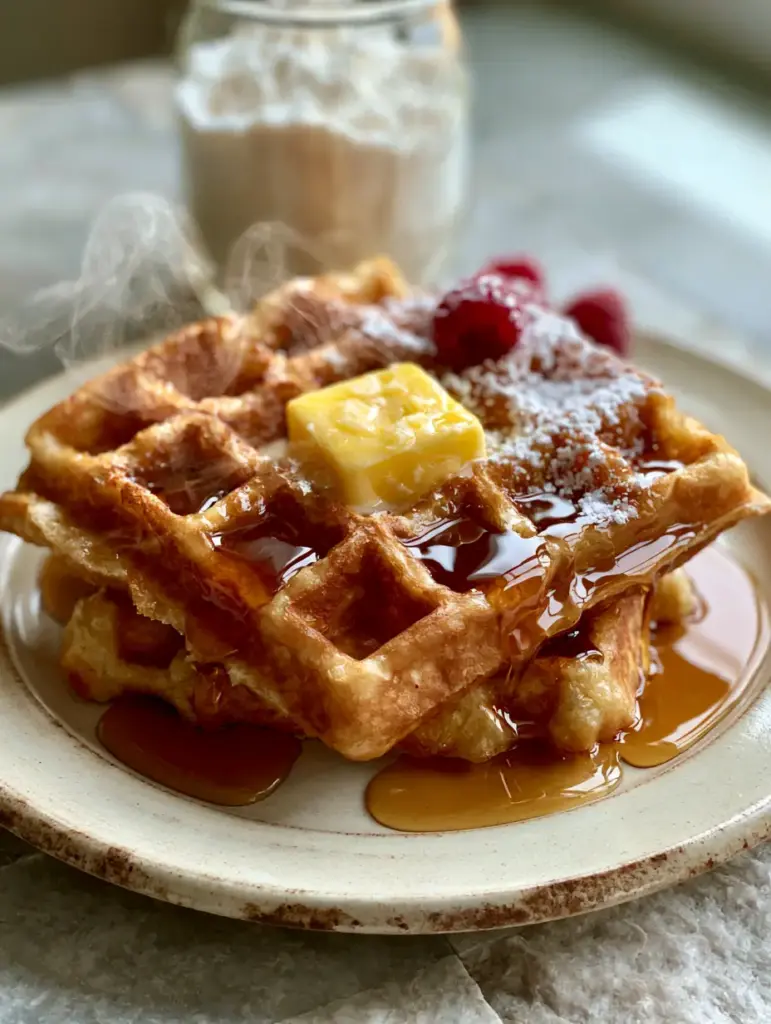
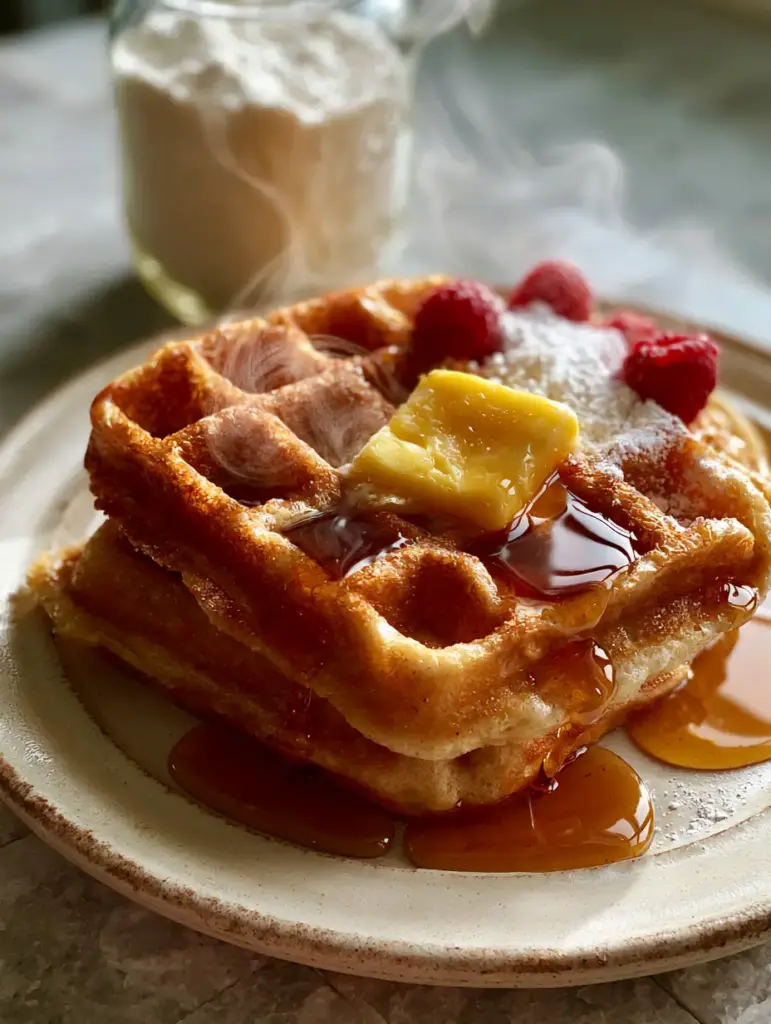
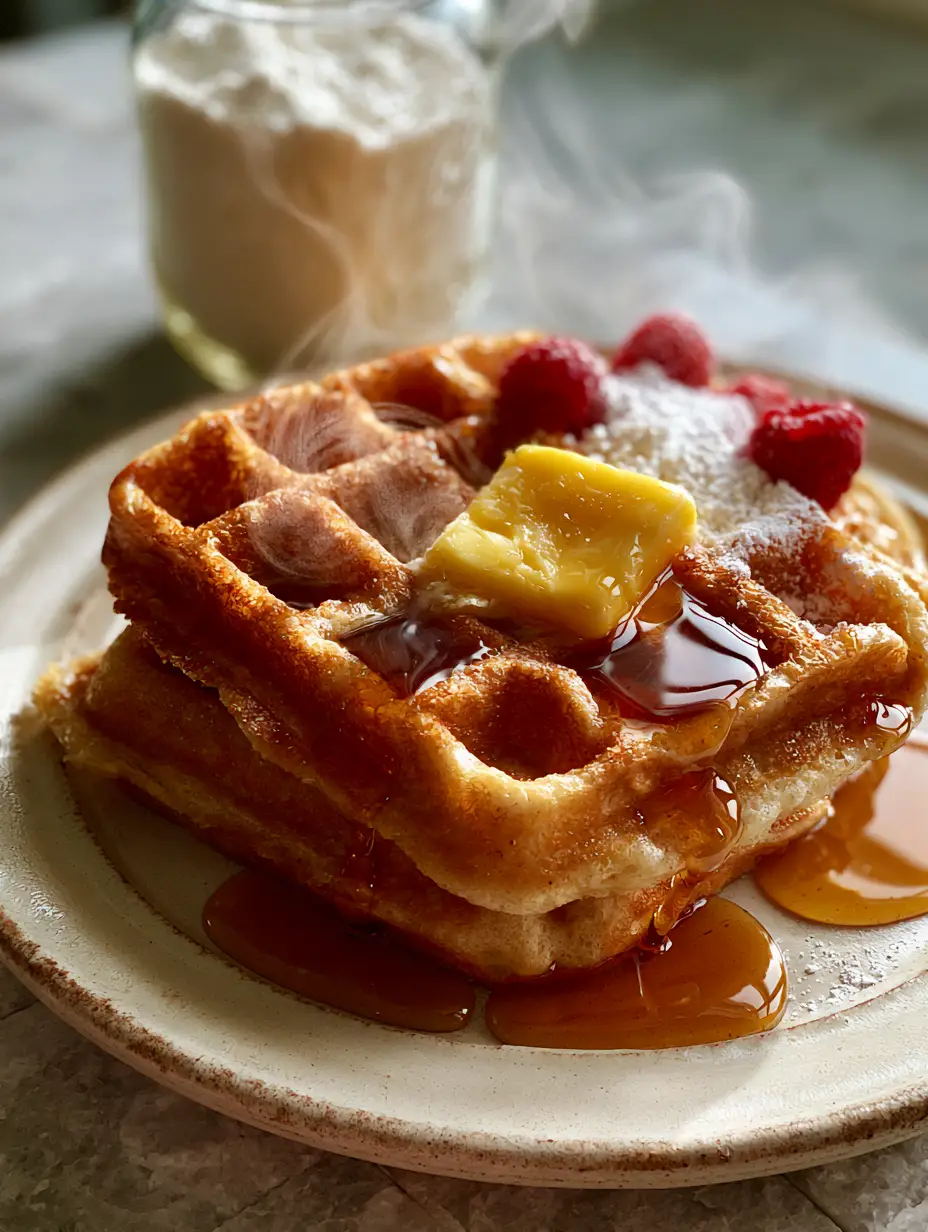
There is nothing quite like waking up to the aroma of a fresh waffle mix recipe wafting through the house on a quiet Sunday morning. Imagine two thick, golden-brown Belgian waffles stacked high on a rustic ceramic plate, with steam rising softly from their deep, crispy pockets.
A square pat of salted butter slowly melts into the center, while glistening amber maple syrup pools in every crevice. This waffle mix recipe isn’t just a meal; it is a sensory experience designed to rival the best artisanal brunch spots.
By preparing your own dry mix in a glass mason jar, you bridge the gap between convenience and gourmet quality. You get that perfect contrast of a shatteringly crisp exterior and a tender, airy interior every single time.
Why This Homemade Waffle Mix Recipe Outperforms Boxed Versions
- Unmatched Texture: The specific ratio of leavening agents ensures deep, crispy square pockets that hold onto syrup without becoming soggy.
- Visual Perfection: This recipe creates a stunning golden-brown finish that looks exactly like a professional food photograph.
- Pantry Ready: Storing the dry white flour mix in a glass mason jar means you are only minutes away from a luxury breakfast.
- Customizable Sweetness: Unlike store-bought mixes, you control the quality of the sugar and the depth of the salt to perfectly complement fresh red raspberries and powdered sugar.
The Secret Pantry Staples for a Better Waffle Mix Recipe
To achieve the forensic visual accuracy of a professional Belgian waffle, every ingredient must serve a specific structural purpose. We are building a foundation that supports heavy toppings like melting butter and thick syrup.
All-Purpose Flour: 3 cups (375g) of high-quality white flour provides the essential gluten structure needed for those tall, thick Belgian walls. It creates the bulk of the dry mix you will store in your mason jar.
Cornstarch: 1/2 cup (64g) is the secret weapon for the “shatter” factor. It lowers the protein content just enough to ensure the exterior remains crispy rather than chewy.
Baking Powder: 2 tbsp (24g) is responsible for the soft steam rising from the center. It creates the lift necessary to fill the deep pockets of a Belgian iron.
Granulated Sugar: 1/4 cup (50g) helps with the Maillard reaction. This is how we achieve that specific golden-brown hue described in our visual blueprint.
Salted Butter: 1/2 cup (115g) melted into the batter provides fat for crisping. Keeping a square pat for the top adds the final touch of savory richness.
Whole Milk: 2 cups (480ml) at room temperature ensures a smooth batter that spreads easily into the iron’s corners. If you prefer a different profile, you might compare this to the base of fluffy pancakes.
Large Eggs: 2 pieces, separated. Beating the whites separately is the professional technique used to achieve an airy, cloud-like interior texture.
Essential Equipment for the Perfect Belgian Bake
You will need a Belgian Waffle Iron with deep grids to capture the syrup pools effectively. A standard iron won’t yield the same “thick” results seen in our visual prompt.
A 1-quart (1 liter) glass mason jar is required for storing your dry white flour mix. This keeps the ingredients shelf-stable and ready for any morning craving.
For the final presentation, a rustic off-white ceramic plate provides the perfect neutral backdrop for the vibrant red raspberries. A fine-mesh sieve is also helpful for achieving that delicate dusting of powdered sugar.
Step-by-Step Evolution: From Dry Mix to Golden Perfection
Preparing the Mason Jar Dry Base
In a large mixing bowl, whisk together your flour, cornstarch, sugar, baking powder, and a pinch of salt. Sift the mixture twice to ensure there are no clumps in your white powdery dry mix.
Transfer this mixture into your clear glass mason jar. This serves as your “ready-to-go” waffle mix recipe base that can be stored in a cool, dark pantry for up to three months.
Activating the Wet Ingredients
When you are ready to cook, whisk your milk, melted butter, and egg yolks in a medium bowl. In a separate clean bowl, beat the egg whites until stiff peaks form; this is the key to the steam-filled interior.
Create a well in the center of your dry mix and gently pour in the liquid. Fold the ingredients together until just combined—overmixing will result in a tough waffle rather than a crispy one.
The Perfect Sear and Bake
Preheat your waffle iron until it is hot enough that a drop of water sizzles and evaporates instantly. Lightly grease the plates with a neutral oil spray to ensure a clean release.
Pour the batter into the center, allowing it to spread toward the edges. Close the lid and cook until the visual cues appear: the steam should subside, and the exterior should be a deep, crispy golden-brown.
The Final Flourish: Plating Like a Pro
Stack two thick waffles on your ceramic plate. Immediately place a square pat of salted butter in the center so it begins to melt into the hot crevices.
Drizzle thick amber maple syrup generously over the top, watching it pool in the square pockets. Scatter fresh red raspberries around the stack and finish with a light, fine dusting of powdered sugar.
Expert Tips for Success with Your Waffle Mix Recipe
- Temperature Control: Ensure your milk and eggs are at room temperature. Cold ingredients can cause the melted butter to solidify, creating a lumpy batter.
- Avoid the Peek: Do not open the waffle iron too early. The steam helps set the structure; opening it prematurely can cause the waffle to tear in half.
- The Crisp Rack: Never stack hot waffles directly on top of each other if you aren’t serving immediately. Place them on a wire cooling rack to keep the air circulating and the crust crispy.
- Jar Longevity: Always label your mason jar with the date. While it lasts months, the freshest leavening agents provide the highest rise.
What to Serve With Your Golden Belgian Waffles
These waffles are the star of the show, but they pair beautifully with other breakfast staples. For a full brunch spread, consider serving them alongside savory breakfast burritos to balance the sweetness.
If you enjoy a variety of textures, these waffles share a similar flavor profile with a well-made German pancake. For those hosting a larger crowd, adding a side of homemade mozzarella sticks can provide a fun, unexpected savory contrast to the maple syrup.
Frequently Asked Questions
Yes, but the texture will be different. Waffle batter contains more fat and sugar to achieve that crispy, caramelized exterior that pancakes lack.
While not strictly required, folding in whipped egg whites is the secret to the light, airy, and ‘steamy’ interior characteristic of true Belgian waffles.
When stored in an airtight glass mason jar in a cool, dry place, the mix remains fresh and effective for up to 3 months.
Reheat them in a toaster or a 350°F (175°C) oven for a few minutes to restore the original crispiness of the golden-brown crust.
Ensure your iron is fully preheated and you’ve used cornstarch in your mix. Also, avoid stacking hot waffles, which creates steam and leads to sogginess.
The Ultimate Homemade Waffle Mix Recipe
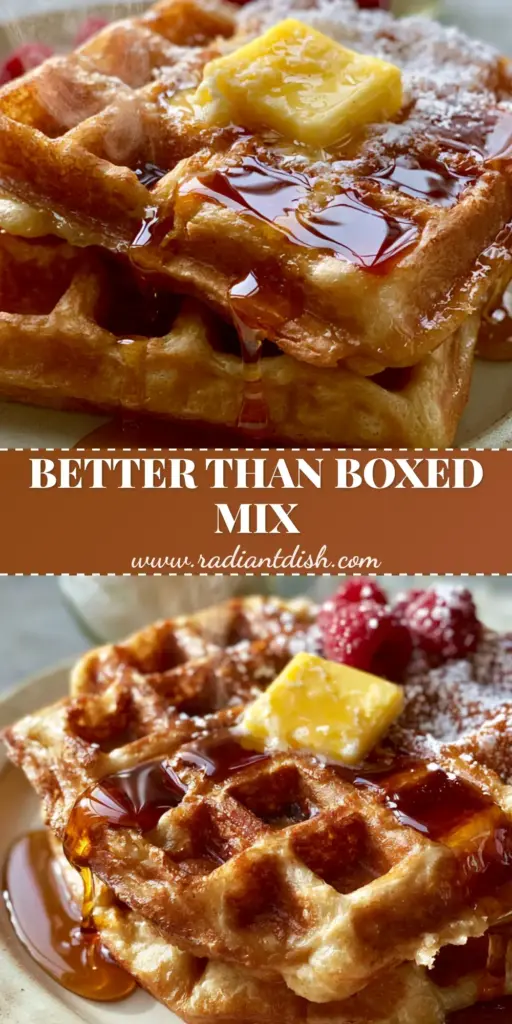
Waffle Mix Recipe: The Secret to Crispy Golden-Brown Belgian Waffles
Ingredients
Equipment
Method
- Whisk and sift all dry mix ingredients into a bowl, then transfer to a glass mason jar for storage.
- In a bowl, combine milk, melted butter, vanilla, and egg yolks.
- Gently fold the wet ingredients into 2 cups of the dry mix. Do not overmix.
- Beat egg whites until stiff peaks form, then fold into the batter for fluffiness.
- Pour batter into a preheated Belgian iron and cook until deep golden-brown and crispy.
- Serve stacked with a pat of butter, amber maple syrup, fresh raspberries, and powdered sugar.
Notes
Beating egg whites separately is essential for the Belgian-style airy texture.
Closing & Call to Action
Mastering this waffle mix recipe is the fastest way to elevate your morning routine into a luxury experience. The combination of the crispy golden-brown exterior and the sweetness of the amber syrup makes every bite unforgettable.
If you loved this recipe, please leave a comment below and let us know how your waffles turned out! Don’t forget to follow us and share your beautiful breakfast creations on Pinterest.