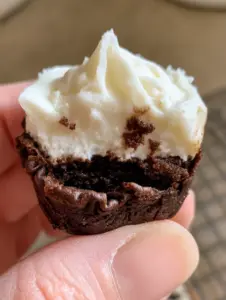
Cheesecake brownie bites are the ultimate dessert mashup, combining the intense, obsidian-dark richness of a professional-grade brownie with the silky, tangy elegance of a vanilla bean cheesecake. If you have been searching for that perfect handheld treat that features chewy baked edges and a glossy finish, you have arrived at the right place. These mini masterpieces are designed to stop the scroll on Pinterest and disappear in seconds at your next gathering.
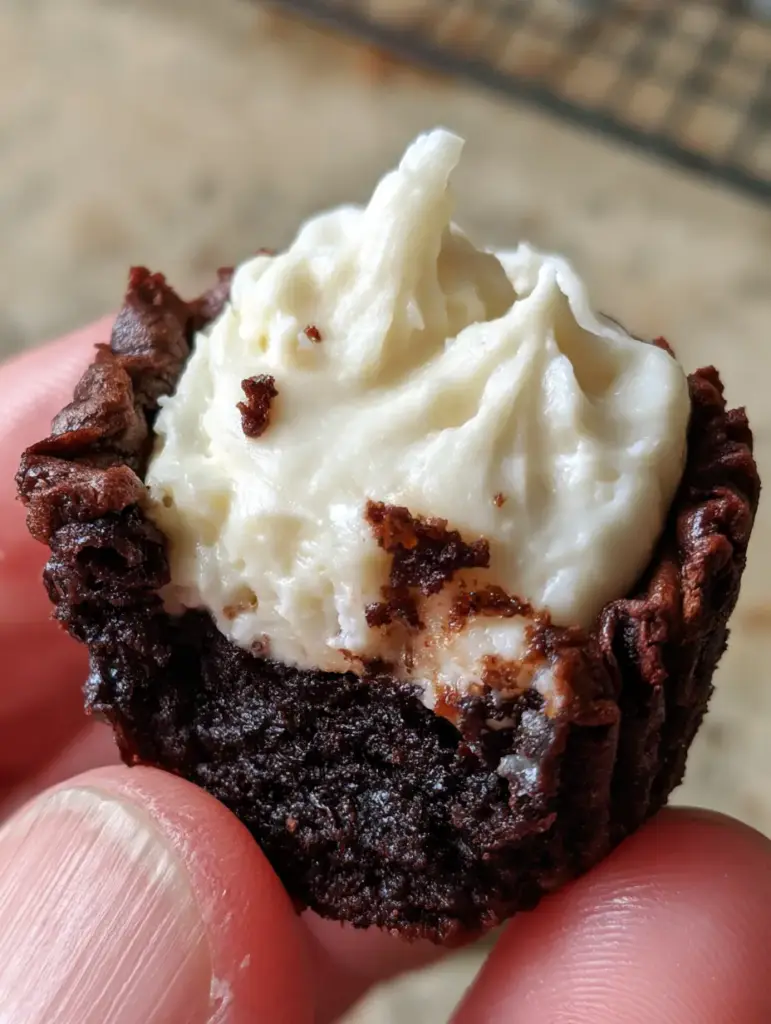
Why These Fudgy Cheesecake Brownie Bites Are a Total Game-Changer
There is a specific science to achieving the high-contrast look of a bright white cream cheese swirl against a dark cocoa brownie base. Unlike standard recipes that end up looking muddy, this method preserves the integrity of both layers. Here is what makes this version stand out:
- The Texture Contrast: You get a fudgy chocolate center paired with chewy, crinkled edges that provide a satisfying snap.
- Visual Precision: We use vanilla bean specks in the cheesecake layer to signal high-end quality and artisanal flavor.
- Perfect Portability: These are individual cheesecake brownie bites, meaning no messy slicing or crumbled edges—just grab and go.
- Ad-Ready Height: The distinct layering creates a beautiful vertical profile that looks stunning in photos and keeps readers scrolling for the secret technique.
If you love this format, you might also enjoy our cosmic brownie bites or for a lighter texture, try these Japanese cotton cheesecake cupcakes.
The Essential Ingredients for Obsidian-Dark Brownie Bases
To achieve that “obsidian” look mentioned in our visual blueprint, you cannot use standard grocery store cocoa powder alone. You need specific fats and sugars to create the glossy finish and crinkled top.
The Dark Chocolate Foundation
Unsalted Butter: 1 cup (226g). We melt the butter to ensure a dense, fudgy crumb rather than a cakey one. Melted butter encourages that glossy finish.
Dutch-Processed Cocoa Powder: 3/4 cup (75g). This is crucial for the dark cocoa brownie base. Dutch-processed cocoa is darker and less acidic, providing that deep “obsidian” hue.
Granulated Sugar: 1.5 cups (300g). Sugar isn’t just for sweetness; it reacts with the eggs to create the chewy baked edges and the thin, crackly skin on top.
Large Eggs: 3 eggs at room temperature. These provide the structure and the lift for the fudgy chocolate center.
All-Purpose Flour: 3/4 cup (95g). We keep the flour count low to ensure the center remains incredibly moist and dense.
The Vanilla Bean Cheesecake Swirl
Full-Fat Cream Cheese: 8 oz (225g). It must be softened to avoid lumps in your thick cream cheese swirl.
Vanilla Bean Paste: 1 teaspoon (5ml). This provides the vanilla bean specks that make these cheesecake brownie bites look professional.
Egg Yolk: 1 large yolk. This acts as a binder, ensuring the cheesecake layer stays “thick” and develops those visible peaks during baking.
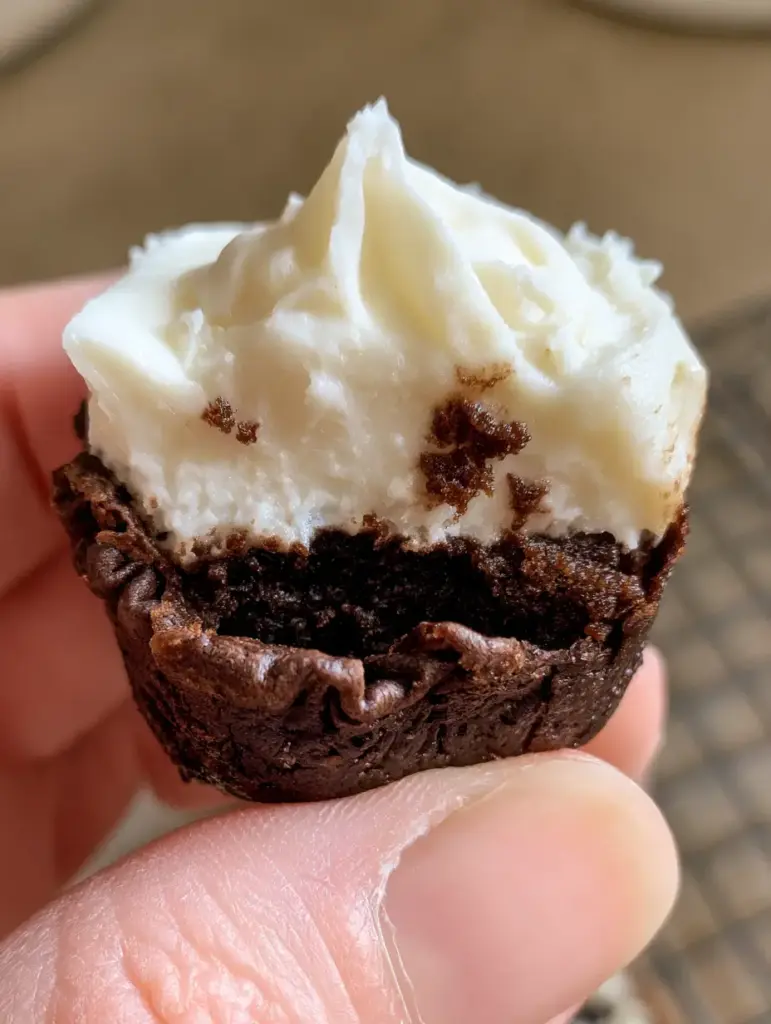
How to Master the Perfect Swirl: Step-by-Step Instructions
Creating cheesecake brownie bites requires a bit of finesse. You want the cheesecake to sit on top of the brownie, not sink into it completely. This creates the “high-contrast” look seen in the smartphone photo blueprint.
Step 1: Preparing the Obsidian Brownie Batter
Preheat your oven to 350°F (175°C). Line a 24-count mini muffin tin with liners or grease them thoroughly. In a large microwave-safe bowl, melt the unsalted butter. While hot, whisk in the Dutch-processed cocoa powder. The heat “blooms” the cocoa, intensifying the flavor and deepening the color to a dark obsidian.
Whisk in the granulated sugar and salt. Add the eggs one at a time, whisking vigorously for at least 1 minute. This aeration is the secret to the crinkled edges. Fold in the flour just until no streaks remain.
Step 2: Crafting the Thick Cream Cheese Swirl
In a separate medium bowl, beat the softened cream cheese with sugar and the vanilla bean paste. You should see those beautiful vanilla bean specks immediately. Add the egg yolk and beat until smooth and glossy. The mixture should be thick enough to hold a soft peak.
Step 3: The Assembly and Swirling Technique
Scoop about 1.5 tablespoons (22ml) of the dark brownie batter into each muffin cup. Drop 1 teaspoon (5ml) of the cheesecake mixture directly onto the center. Use a toothpick to gently swirl the white mixture into the dark base, creating visible peaks. Do not over-swirl, or you will lose the high-contrast bright white look.
For more chocolate inspiration, check out our guide on classic brownies or these decadent samoa brownies.
Step 4: Baking for Fudgy Perfection
Bake for 18-22 minutes. You are looking for the edges to be set and slightly chewy, while the center should still have a slight wobble. The cheesecake should have a glossy sheen. Overbaking will ruin the fudgy chocolate center, so start checking early!
Expert Tips for Success
- Room Temperature Ingredients: Always ensure your cream cheese and eggs are at room temperature to prevent a lumpy cheesecake swirl.
- The Toothpick Test: For a fudgy center, the toothpick should come out with a few moist crumbs attached—not clean, and not wet.
- Chill Before Serving: These cheesecake brownie bites are best after chilling for 2 hours. This sets the fats and makes the chewy baked edges even better.
- Use a Scoop: A small cookie scoop ensures each bite is the same size, which is critical for even baking and programmatic ad-worthy symmetry.
Storage, Reheating & Freezing
Because of the dairy in the cheesecake layer, these cheesecake brownie bites must be stored in the refrigerator. Place them in an airtight container for up to 5 days. To enjoy them at their best, let them sit at room temperature for 15 minutes before eating to soften the fudgy chocolate center.
To freeze, wrap individual bites in plastic wrap and store in a freezer bag for up to 3 months. Thaw overnight in the fridge. Avoid reheating in the microwave as it can turn the cheesecake rubbery.
What to Serve With These Bites
These bites are rich and decadent, so they pair perfectly with a bitter beverage or a salty snack. Try serving them alongside a cold glass of milk, a double espresso, or even a handful of crispy chickpea snack bites for a salty-sweet party spread. If you’re hosting a full meal, these follow beautifully after a hearty broccoli chicken and rice casserole.
Frequently Asked Questions
Yes, but you will need to increase the baking time to 25-30 minutes. The ‘bite-sized’ appeal is best achieved in a mini muffin tin for the perfect ratio of chewy edge to fudgy center.
You can, but the base will be lighter in color and more acidic. For the obsidian-dark ‘cheesecake brownie bites’ look, Dutch-processed is highly recommended.
Yes, because the cheesecake layer contains cream cheese and egg yolk, these bites must be stored in an airtight container in the refrigerator for food safety.
The secret to crinkled brownie edges is whisking the eggs and sugar vigorously to create a thin meringue-like layer, and using melted butter rather than softened butter.
If the brownie batter is too thin or you swirled too deeply, the cheesecake will sink. Ensure your cream cheese mixture is thick enough to hold peaks before adding it.
The Ultimate Cheesecake Brownie Bites Recipe
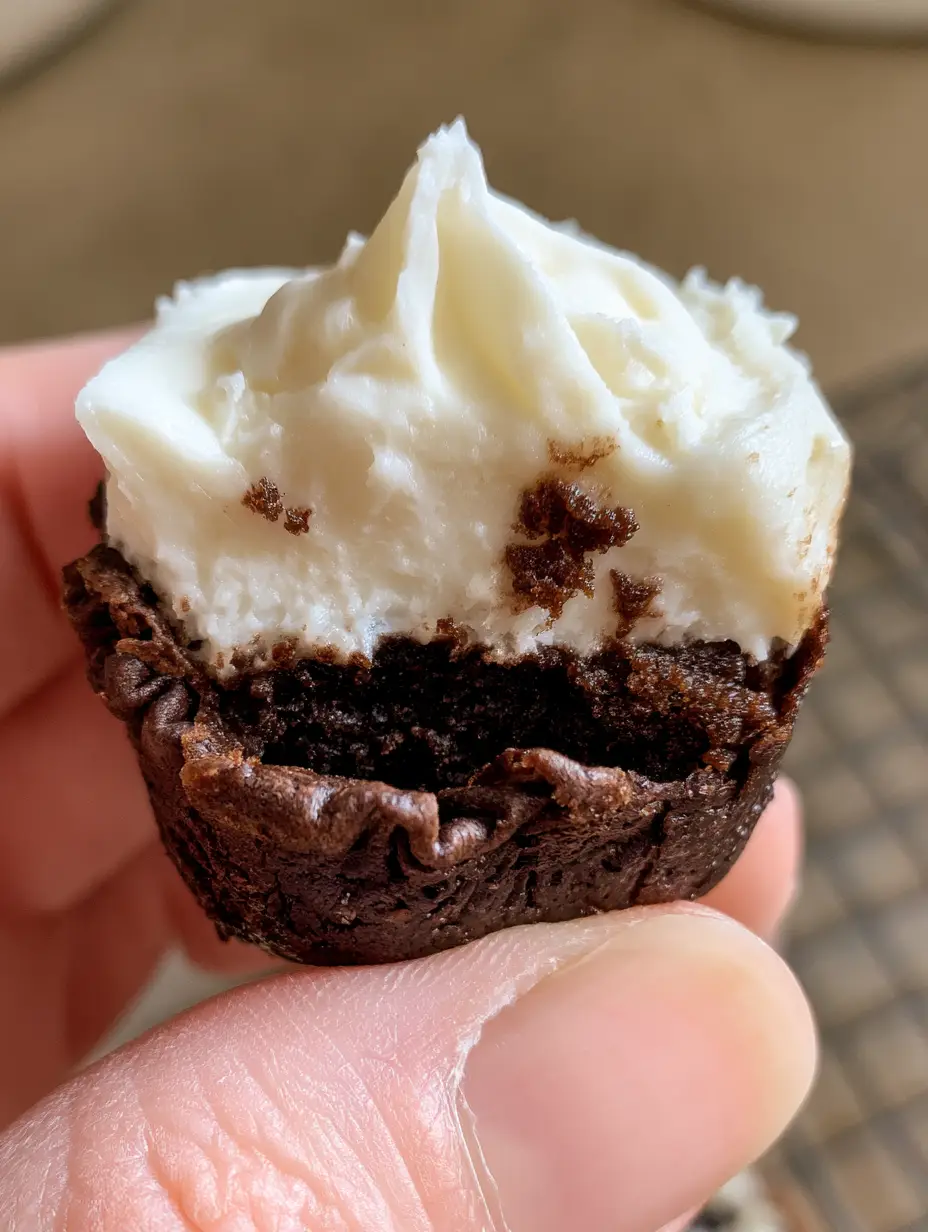
Cheesecake Brownie Bites with Fudgy Centers and Vanilla Bean Swirls
Ingredients
Equipment
Method
- Preheat oven to 350°F (175°C) and line a 24-count mini muffin tin with paper liners.
- Combine melted butter and Dutch cocoa powder. Whisk in sugar, salt, and eggs until the batter is glossy and thick. Fold in flour.
- Beat softened cream cheese, sugar, egg yolk, and vanilla bean paste until smooth and holding peaks.
- Fill muffin cups 3/4 full with brownie batter. Top with a teaspoon of cheesecake mixture and swirl with a toothpick.
- Bake for 18-22 minutes until edges are chewy and the cheesecake has a glossy sheen. Cool completely before removing from the tin.
Notes
Do not over-swirl to maintain the high-contrast white and dark layers.
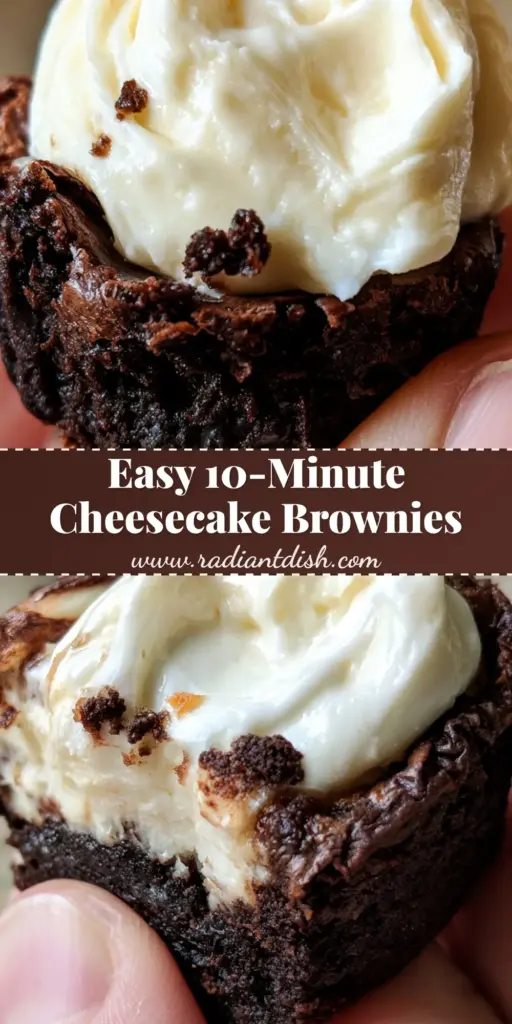
Save This Recipe to Pinterest!
Don’t lose this recipe! Pin this post to your “Dessert Recipes” or “Baking Inspiration” board on Pinterest. We would love to see your cheesecake brownie bites! Follow @radiantdish for more elite baking tips and share a photo of your glossy, fudgy results in the comments below. If you loved these, please leave a 5-star rating in the recipe card above!