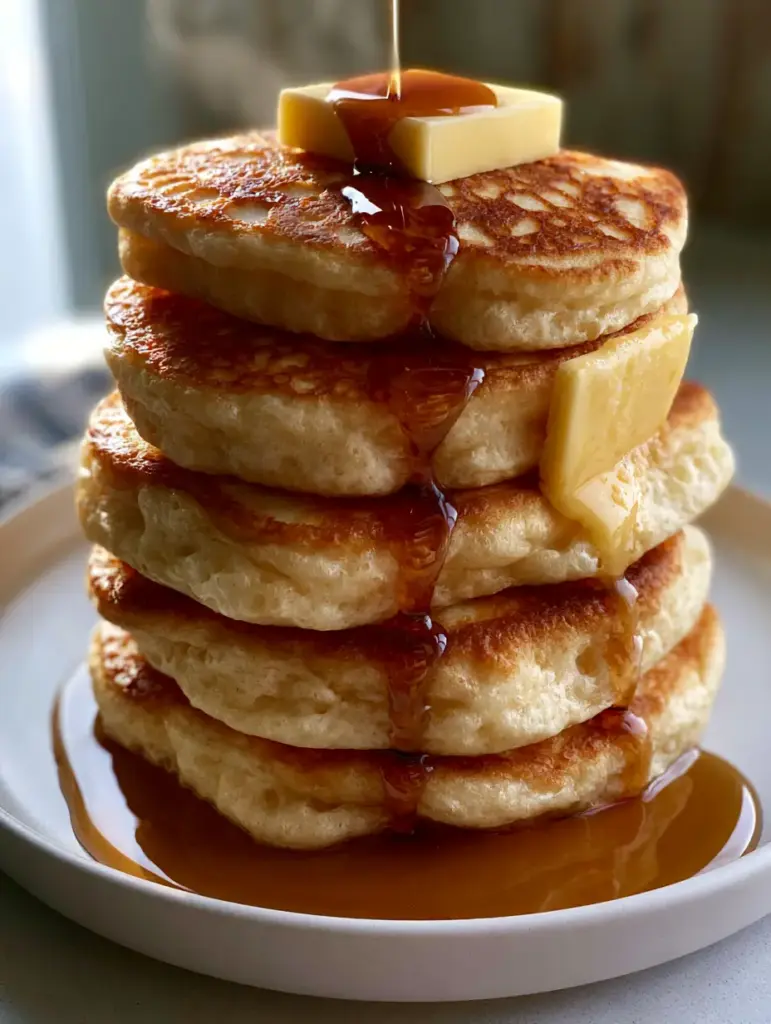
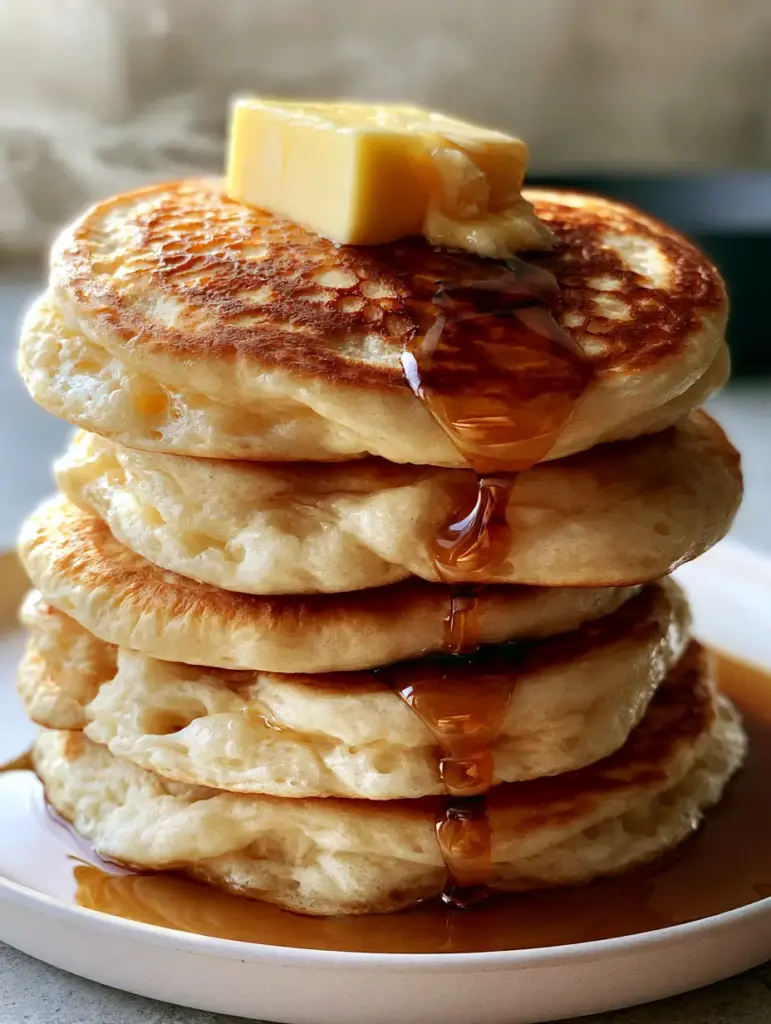
There is nothing quite like waking up to the sight of a towering five-stack of pancakes, each measuring a full 2 inches thick. When you learn how to make pancakes that achieve this level of pillowy perfection, your kitchen transforms into the ultimate weekend brunch destination.
This recipe focuses on recreating the iconic diner-style aesthetic: ultra-thick layers, airy bubbled edges, and that elusive, perfectly uniform golden-brown lace pattern on the surface. We aren’t just making breakfast; we are engineering a culinary masterpiece that holds up under a generous cascade of dark amber maple syrup.
By following these professional techniques, you will master the art of the “lift,” ensuring your pancakes never fall flat or turn out gummy. Get ready to experience the satisfying sight of a square pat of salted butter slowly melting down a warm, steaming stack of homemade goodness.
The Pillars of the 2-Inch Pancake Perfection
- Extreme Vertical Height: We utilize a specific leavening ratio to ensure each pancake reaches a staggering 2-inch (5cm) thickness without collapsing.
- The Golden Lace Pattern: Through controlled fat distribution and precise pan temperature, we create a beautiful, seared mosaic on every golden-brown surface.
- Airy, Bubbled Edges: The “forensic” detail of a great pancake lies in the perimeter, where tiny air pockets signal a light, airy crumb structure.
- Structural Integrity: These pancakes are sturdy enough to support a heavy pour of viscous syrup while remaining soft and pillowy to the bite.
Essential Pantry Staples for Sky-High Fluff
All-Purpose Flour: 2 cups (250g) of high-quality flour provides the gluten structure necessary to trap air bubbles. It is the foundation of our towering stack.
Double-Acting Baking Powder: 2 tbsp (24g) is the secret to that 2-inch lift. This provides an initial rise upon mixing and a second burst of lift when it hits the hot griddle.
Baking Soda: 1/2 tsp (3g) reacts with the buttermilk to create immediate carbon dioxide, resulting in those signature bubbled edges seen in the visual blueprint.
Granulated Sugar: 2 tbsp (25g) doesn’t just sweeten the batter; it aids in the Maillard reaction to produce the golden-brown lace pattern.
Fine Sea Salt: 1/2 tsp (3g) balances the sweetness and enhances the flavor of the melted butter topping.
Full-Fat Buttermilk: 1 3/4 cups (420ml) provides the acidity needed for a tender crumb and the thick consistency required for height.
Unsalted Butter (Melted): 4 tbsp (56g) mixed into the batter adds richness, while extra salted butter is used for the final garnish and pan searing.
Large Egg: 1 egg (50g) acts as the binder, ensuring the five-stack stays upright and structurally sound.
Vanilla Bean Paste: 1 tsp (5ml) adds a deep, aromatic profile that pairs perfectly with dark amber maple syrup.
Professional Gear for the Perfect Stack
To achieve the visual results of a professional food stylist, you will need a heavy-bottomed non-stick skillet or a cast-iron griddle. These tools ensure even heat distribution, which is critical for that uniform lacy sear.
A wide, thin silicone spatula is also essential for flipping these 2-inch monsters without deflating the airy centers. Finally, using a 1/2 cup (120ml) measuring scoop ensures every pancake in your stack is identical in size and volume.
Mastering the Thick Pancake Batter
Step 1: The Dry Ingredient Aeration
In a large mixing bowl, whisk together your flour, baking powder, baking soda, sugar, and salt. Use a vigorous motion for about 30 seconds to ensure the leavening agents are perfectly distributed, preventing any “flat spots” in your stack.
Step 2: The Emulsion Phase
In a separate jug, whisk the buttermilk, egg, melted butter, and vanilla bean paste. Ensure your buttermilk is at room temperature to prevent the melted butter from re-solidifying into clumps, which would ruin the lacy texture.
Step 3: The “Lumpy Batter” Rule
Pour the wet ingredients into the dry. Fold gently with a spatula just until combined; stop as soon as the flour streaks disappear. Overmixing is the enemy of how to make pancakes that are 2 inches thick—you want those lumps to remain for maximum lift.
Achieving the Golden Lace Pattern and Bubbled Edges
Step 4: Preheating and Fat Distribution
Heat your skillet over medium-low heat. Swipe a cold stick of salted butter across the surface, then immediately wipe it with a paper towel, leaving only a faint, shimmering film of fat. This technique is what creates the “lace pattern” rather than a greasy, fried surface.
Step 5: The Slow Pour and Rise
Scoop 1/2 cup (120ml) of batter onto the center of the pan. Do not spread it out! Let the thick batter sit; as the heat penetrates, you will see the edges start to form airy bubbles and the center begin to puff upward.
Step 6: The Golden-Brown Flip
Wait for the sensory cue: when the bubbles on the edges pop and stay open, and the bottom is a deep golden brown, slide your spatula underneath. Flip in one confident motion. Cook the second side for 2 minutes until it mirrors the lacy top.
Chef’s Secrets for Pancake Perfection
- Rest the Batter: Allow your batter to sit for 10 minutes before cooking. This allows the flour to fully hydrate and the leavening agents to “wake up,” leading to a softer crumb.
- The Water Test: Flick a drop of water onto the pan; if it dances and sizzles, the temperature is perfect for that golden sear.
- Low and Slow: Because these pancakes are so thick, cooking them too fast will burn the outside while leaving the middle raw. Keep the heat moderate.
- Avoid the Press: Never press down on the pancake with your spatula after flipping! This crushes the air cells you’ve worked so hard to create.
Storage, Reheating, and Freezing
If you have leftovers from your five-stack, these pancakes store beautifully. Place them in an airtight container in the refrigerator for up to 3 days. To maintain the “pillowy” texture, reheat them in a toaster oven or a dry skillet rather than the microwave.
To freeze, place a piece of parchment paper between each pancake and store in a freezer bag for up to 2 months. You can toast them directly from frozen for a quick weeknight breakfast or a late-night snack.
Ultimate Pancake Pairings
While a stack of 2-inch pancakes is a meal in itself, you can elevate the experience by serving them alongside other brunch favorites. For a savory contrast, consider a side of crispy bacon or a savory protein bowl to start the day.
If you’re hosting a holiday brunch, these pancakes pair beautifully with festive finger foods or a refreshing glass of triple berry lemonade. For those who love a dessert-style breakfast, a dollop of whipped cream and a side of peach cobbler rolls will turn your kitchen into a 5-star bakery.
Frequently Asked Questions
You can, but the pancakes won’t be as thick. The acidity in buttermilk reacts with baking soda to create the extra lift and tender crumb seen in our blueprint.
The secret is using very little fat on the pan. Wipe the pan with a buttered paper towel to create a thin film rather than a pool of oil, which creates an even sear.
Yes! Resting the batter for 10-15 minutes allows the gluten to relax and the starch to hydrate, resulting in a much fluffier and softer pancake.
Flat pancakes are usually caused by overmixing the batter, which crushes the air bubbles, or using expired baking powder. Ensure you fold the batter gently and leave some lumps.
Because these pancakes are 2 inches thick, they need to cook ‘low and slow.’ If your heat is too high, the outside will burn before the heat reaches the center.
The Final 2-Inch Diner-Style Pancake Recipe
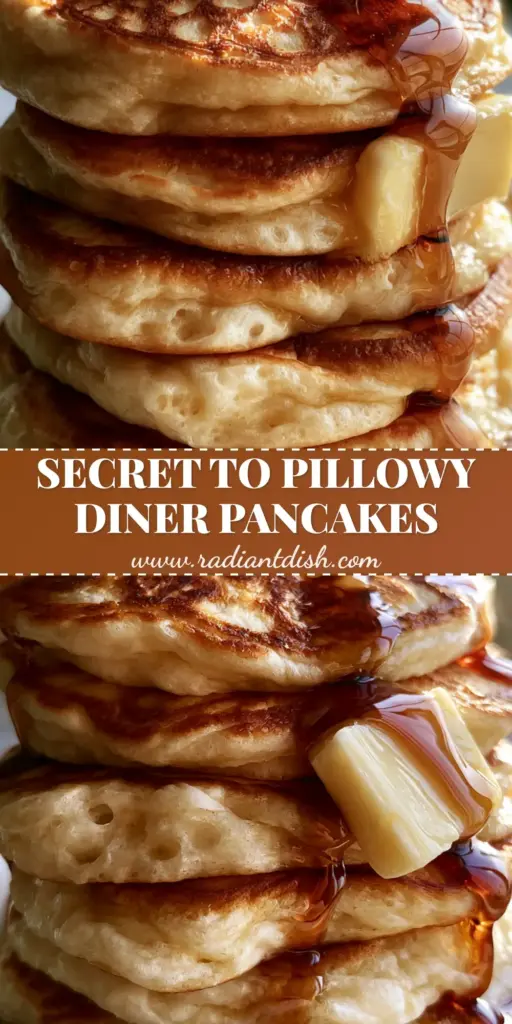
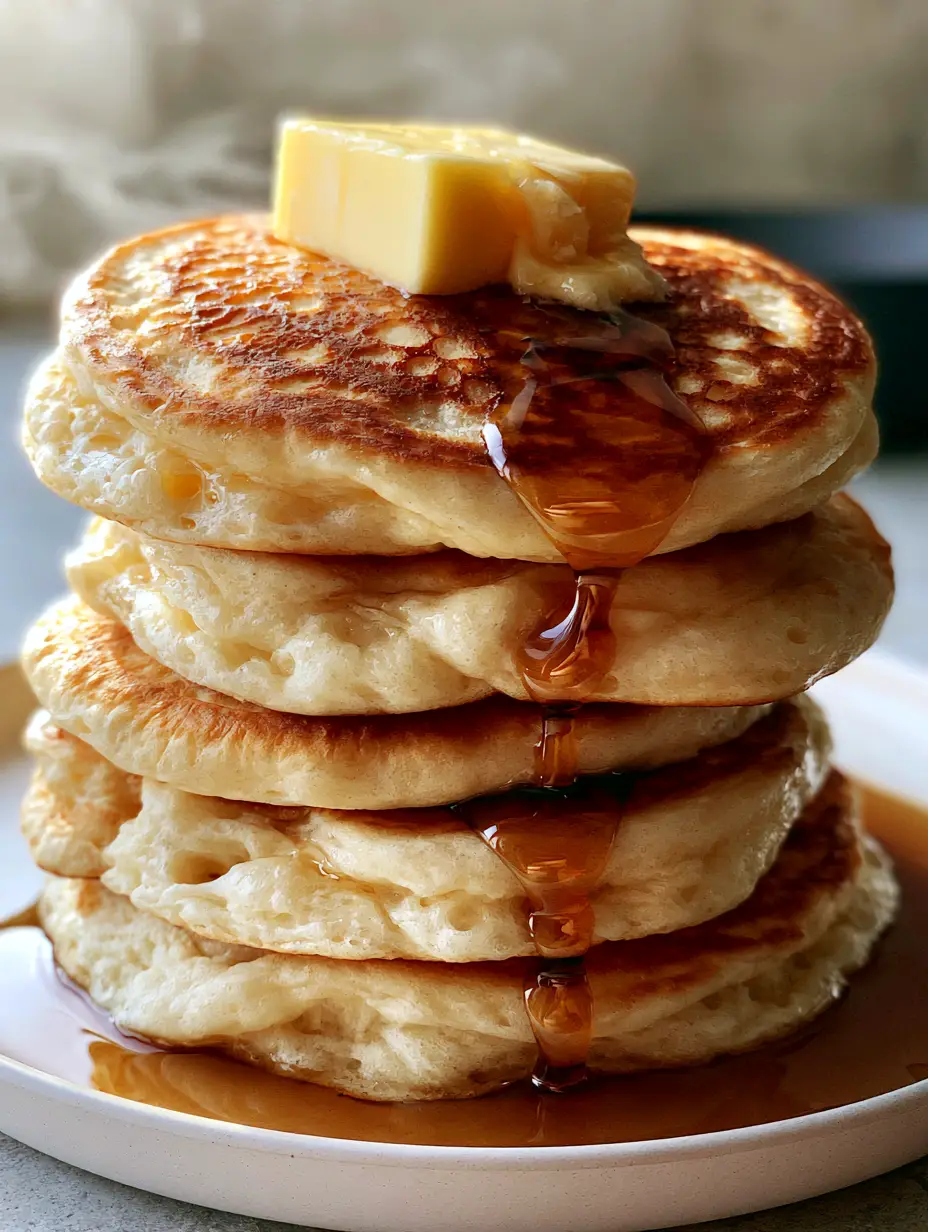
How to Make Pancakes: The Ultimate Thick and Fluffy Diner-Style Guide
Ingredients
Equipment
Method
- In a large bowl, whisk flour, baking powder, baking soda, sugar, and salt until aerated.
- Combine buttermilk, melted butter, egg, and vanilla in a jug and whisk until smooth.
- Fold the wet ingredients into the dry until just combined, leaving some lumps for thickness.
- Preheat skillet over medium-low and wipe with a thin layer of butter using a paper towel.
- Scoop 1/2 cup of batter into the pan. Cook until bubbled edges form and stay open.
- Flip carefully and cook the second side for 2 minutes until a golden-brown lace pattern appears.
Notes
Ensure the pan isn't too hot to avoid burning before the 2-inch center is cooked.
Start Flipping and Sharing!
Now that you know how to make pancakes that rival the best diners in the country, it’s time to get cooking. The combination of the airy bubbled edges, the golden-brown lace pattern, and that cascading dark amber maple syrup is a sensory experience you won’t forget.
If you enjoyed this deep dive into pancake engineering, please leave a comment below or share your towering stacks with us! Don’t forget to save this recipe to your breakfast boards on Pinterest for your next lazy Sunday morning.