If you have ever experienced the addictive crunch of a “fire cracker,” you know how a simple pantry staple can be transformed into a gourmet snack. These Dill Pickle Saltines take that concept to a whole new dimension, leaning into the tangy, herbal, and savory profiles that pickle lovers crave.
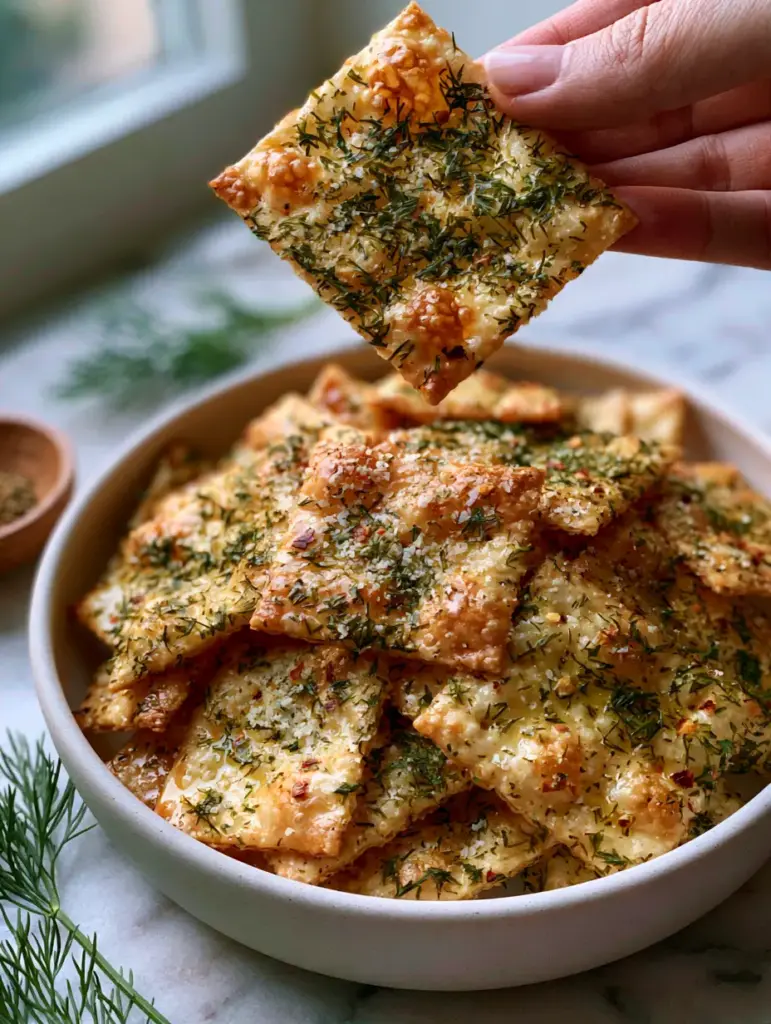
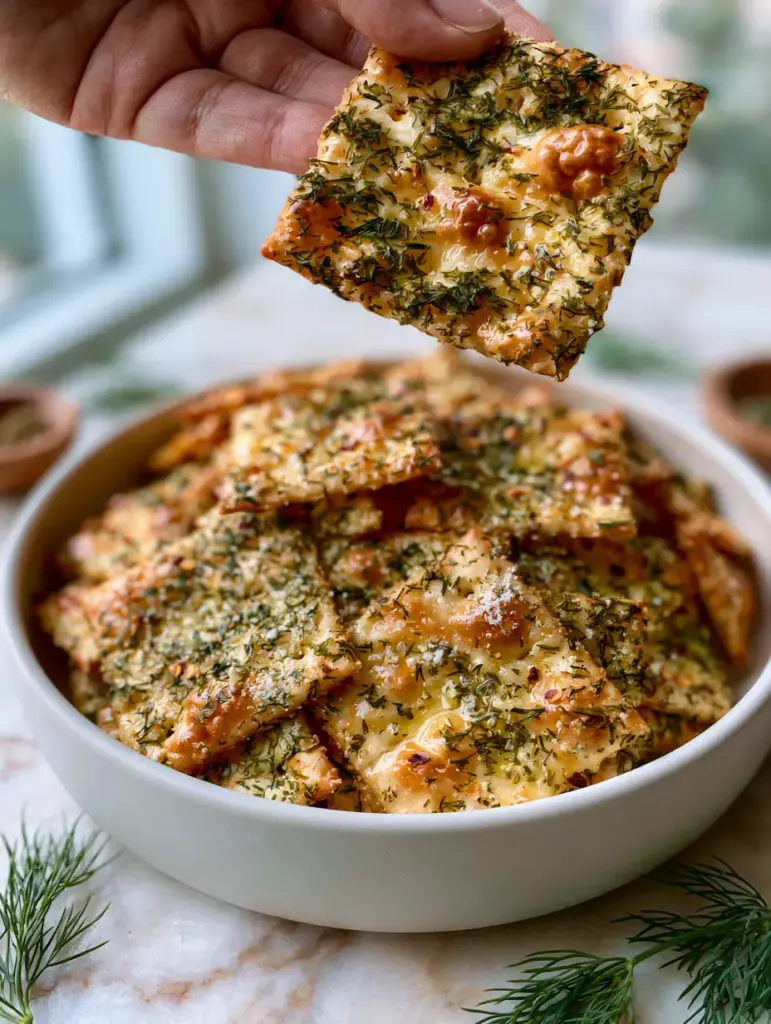
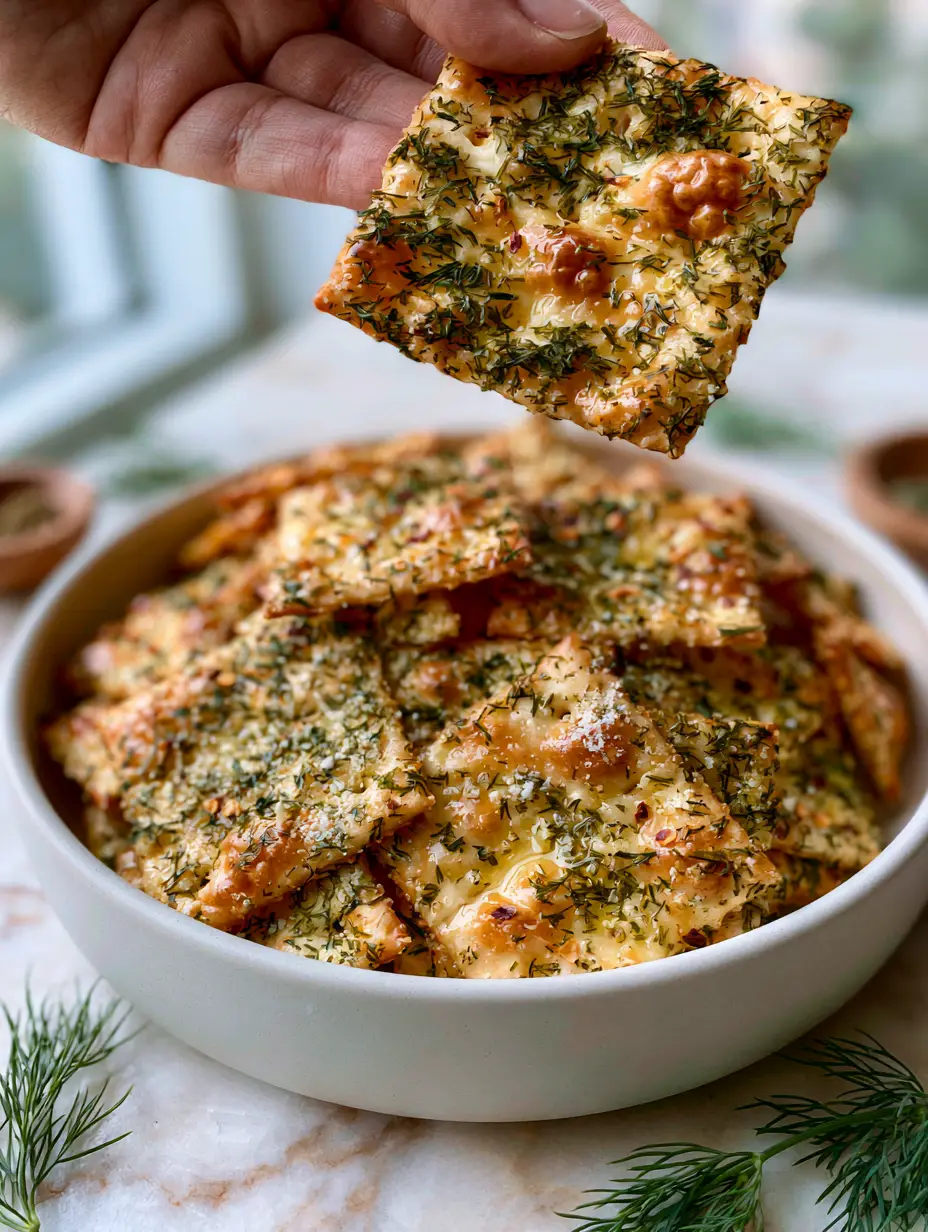
Imagine a heap of golden-brown saltine crackers, each one glistening with a light, velvety butter glaze that has been infused with aromatics. Every square is heavily coated in dried green dill weed and a fine dusting of white ranch seasoning, creating a flavor explosion that is both nostalgic and sophisticated.
The visual appeal is just as striking as the taste. As you hold one of these crackers up to the light, you can see the crisp, bubbly toasted texture and a thick layer of herbs that promises a satisfying snap with every bite. This is the ultimate addition to your rotation of New Year’s Eve snacks.
Why These Seasoned Crackers Outperform Every Other Snack
- Visual Texture: The “bubbly” toasted surface provides a superior “mouthfeel” and holds onto the seasoning better than unbaked versions.
- Balanced Heat: Tiny specks of red pepper flakes provide a gentle background warmth that cuts through the rich butter glaze.
- Herb-Forward Profile: The heavy application of dried dill weed ensures every bite tastes like a premium deli pickle.
- Glistening Glaze: Unlike oily crackers, the melted butter base creates a semi-matte, golden-brown finish that looks professional and appetizing.
The Anatomy of Flavor: Essential Ingredients and Substitutions
To achieve the specific “Visual Recipe Blueprint” of these Dill Pickle Saltines, every ingredient must serve a structural and flavor-based purpose. We are moving beyond simple seasoning and into the realm of snack science.
The Structural Base: Saltine Crackers
You will need 4 sleeves (roughly 1 box or 454g) of premium saltine crackers. Look for brands that have visible “docking holes” and a slightly pale complexion, as they will take on a beautiful golden-brown hue in the oven.
The Adhesion Agent: Unsalted Butter
1 cup (225g) of unsalted butter acts as the “glue” for our seasonings. We use unsalted because the crackers and ranch powder already contain significant sodium; this allows us to control the final flavor profile precisely.
The Dill Essence: Dried Green Dill Weed
3 tablespoons (12g) of dried dill weed provide the primary visual and flavor punch. Dried dill is preferred over fresh during the baking process because it won’t wilt or turn black in the oven, maintaining that vibrant green color.
The Zesty Core: Ranch Seasoning Powder
1 packet (28g) of fine white ranch seasoning powder provides the acidity and umami. The buttermilk solids in the powder react with the butter glaze to create a “tangy” sensation that mimics pickle brine.
The Texture Enhancers: Granulated Garlic and Red Pepper Flakes
1 teaspoon (5g) of granulated garlic offers a punchy aroma without the bitterness of burnt fresh garlic. 1/2 teaspoon (1g) of tiny red pepper flakes adds the “visual specks” required for a gourmet aesthetic.
The Finishing Touch: Fresh Dill Sprigs
While the crackers are coated in dried dill, a few sprigs of fresh dill garnish used just before serving provide a bright, “just-made” fragrance. This contrast between the toasted herbs and fresh greens is a hallmark of high-end food photography.
Essential Equipment for Toasted Perfection
Achieving that “modern matte white ceramic bowl” look starts with the right tools in the kitchen. To ensure your crackers are evenly coated and perfectly toasted, you will need a few basics.
A large, heavy-duty rimmed baking sheet (half-sheet pan) is non-negotiable. This provides enough surface area for the crackers to lay in a single layer, ensuring that the butter glaze evaporates slightly and creates that “glistening” rather than “soggy” finish.
You will also need a large 2-gallon (7.5L) zip-top bag or a very large mixing bowl with a lid. This is the secret to “heavy coating” without breaking the fragile saltine edges. Finally, a small wooden pinch bowl for your spice blend allows for even distribution as you prep.
Step-By-Step Instructions for Professional Dill Pickle Saltines
1. Prepare the Butter Glaze Infusion
In a small microwave-safe bowl or a small saucepan over low heat, melt 1 cup (225g) of unsalted butter. Once melted, whisk in the ranch seasoning powder, granulated garlic, and tiny red pepper flakes.
Visual Cue: The glaze should look like a pale yellow liquid with suspended white particles and vibrant red specks. Do not let the butter brown at this stage; we want it clear and fluid.
2. The Seasoning Saturation Process
Place the 4 sleeves of saltines into your large zip-top bag. Pour the butter and spice mixture over the crackers, then immediately add the 3 tablespoons (12g) of dried dill weed.
Seal the bag with plenty of air inside and gently tumble—do not shake violently. Rotate the bag until every cracker shows that “glistening” butter sheen and a thick layer of green herbs.
3. Low and Slow Baking
Preheat your oven to 250°F (120°C). Arrange the seasoned saltines in a single layer on your rimmed baking sheet. Any leftover seasoning in the bag should be scraped out and sprinkled over the top.
Bake for 15-20 minutes, gently tossing the crackers halfway through. This “sets” the glaze and creates the bubbly, crisp texture seen in the handheld smartphone photo.
4. Cooling and Garnishing
Remove the pan from the oven and let the crackers cool completely on the sheet. As they cool, the butter glaze will solidify into a crisp, non-greasy coating.
Transfer the crackers to a modern matte white ceramic bowl. Scatter a few sprigs of fresh dill over the heap for a pop of color and a fresh herbal aroma.
Expert Tips for Snack Success
- Avoid the “Sog”: Never pour the glaze onto the crackers while it is boiling hot. Let it cool for 2 minutes so the crackers don’t absorb the moisture too quickly and lose their snap.
- Check Your Dill: Ensure your dried dill is “green,” not brown. Older spices lose their color and flavor, and the visual blueprint for this recipe relies on that vibrant green contrast.
- The Single Layer Rule: If you crowd the pan, the crackers will steam instead of toast. Use two pans if necessary to ensure every saltine has “breathing room.”
- Scaling Up: This recipe is a hit for Easter finger foods, so feel free to double the batch. Just ensure you bake in batches to maintain the crispness.
The Best Ways to Store and Re-Crisp
These Dill Pickle Saltines are remarkably shelf-stable due to the low moisture content after baking. Store them in an airtight container or a clean glass jar at room temperature for up to two weeks.
If you live in a humid environment and the crackers lose their “snap,” simply pop them back into a 250°F (120°C) oven for 5 minutes. They will crisp back up instantly. Do not freeze these crackers, as the crackers will become mushy upon thawing.
What to Serve With These Zesty Crackers
While these are a standalone powerhouse, they also pair beautifully with other items on a snack board. Their tangy profile makes them the perfect companion to creamy dips or spicy main courses.
Try serving them alongside a hearty bowl of coconut chicken rice to add a crunchy element to the meal. They also provide a great textural contrast to softer snacks like homemade mozzarella sticks.
If you are hosting a larger dinner, these crackers serve as an excellent “appetizer before the appetizer” while your guests wait for a main dish like chicken enchiladas or a savory sausage and peppers skillet.
Frequently Asked Questions About Seasoned Saltines
The red pepper flakes add a very mild, background warmth rather than intense heat. If you prefer a spicy ‘fire cracker’ style, you can double the amount of flakes.
Absolutely! Ritz crackers are more buttery and fragile, so be extra gentle during the tumbling process. They will result in a richer, more decadent snack.
Yes, oil can be used, but butter provides a much richer flavor and a superior golden-brown color. If using oil, choose a neutral one like canola or avocado oil.
When stored in an airtight container, Dill Pickle Saltines will stay perfectly crisp and flavorful for up to 2 weeks at room temperature.
Sogginess usually happens if you use too much liquid or skip the baking step. The low-heat oven time is essential to evaporate moisture from the butter and ‘set’ the seasoning into a crisp glaze.
The Ultimate Dill Pickle Saltines Recipe Card
Dill Pickle Saltines: The Ultimate Crispy, Zesty Seasoned Cracker Recipe
Ingredients
Equipment
Method
- Whisk melted unsalted butter with ranch powder, granulated garlic, and red pepper flakes in a small bowl.
- Place saltines in a large zip-top bag. Pour the butter mixture and dried dill weed over them. Gently tumble to coat until glistening.
- Spread crackers on a rimmed baking sheet in a single layer. Bake at 250°F (120°C) for 15-20 minutes until crisp and bubbly.
- Allow crackers to cool completely on the pan. Transfer to a bowl and garnish with fresh dill sprigs before serving.
Notes
Use unsalted butter to avoid making the snack overly salty.
Closing Thoughts and Your Turn to Bake!
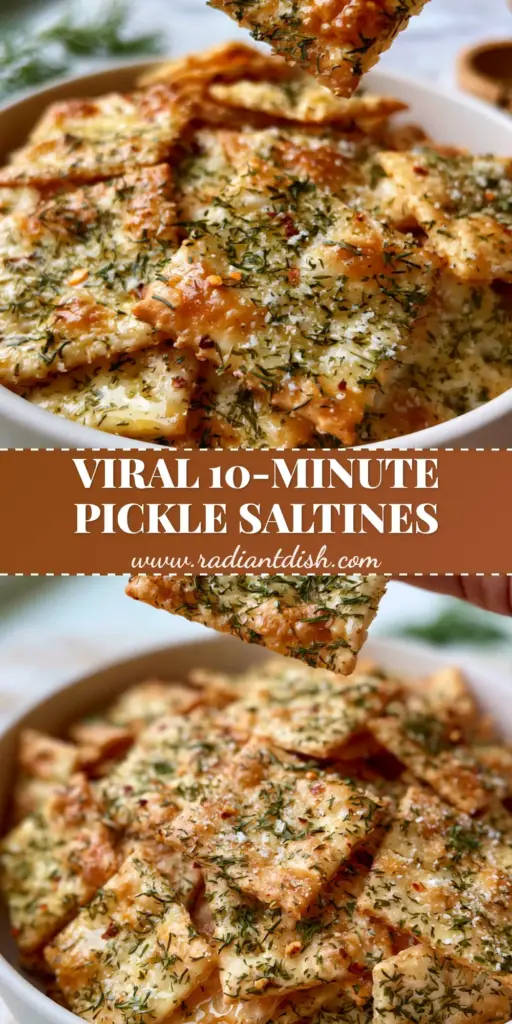
These Dill Pickle Saltines are proof that you don’t need expensive ingredients to create a “vibrant, ultra-appetizing” snack. With just a few pantry staples and a little bit of low-heat magic, you can create a golden-brown masterpiece that will be the talk of your next party.
If you enjoyed this recipe, please leave a comment below and let us know how yours turned out! Don’t forget to share your photos and tag us on Pinterest so we can see your beautiful creations.